Rss

  • twitter
  • youtube

Archives for :

Captain America XBOOK vs Iron Man PLAYBOOK

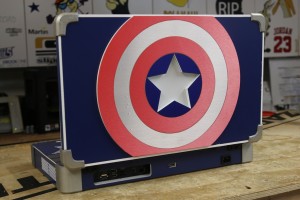
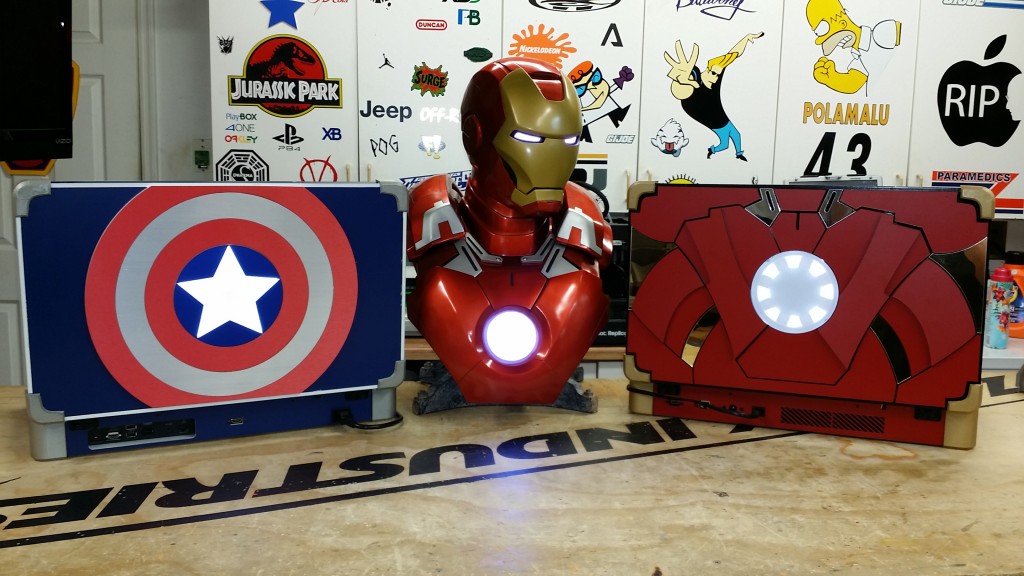
Well Guys I am back at it yet again! Today we we have a special edition for both systems! Captain America XBOOK ONE and a Iron Man PLAYBOOK 4. This is a great duo with the Captain America Civil War movie coming up next year. These systems both boast their own unique designs and features, along with the standard specs you have seen in my previous systems. Lets check them out!


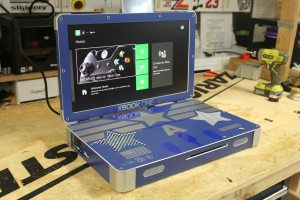
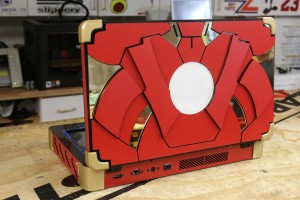
Each system obviously looks different! They each are themed after the characters they resemble. You have the Captain America XBOOK ONE which has his Captain Rogers shield along with his uniform design and American colors. Then next to that you are looking at a Gold and hot rod Red Iron Man PLAYBOOK 4 which includes his armor, Arc Reactor and even Jarvis HUD on the inside.

First up lets look at the Captain America XBOOX ONE and see what else it has to offer.

IMG_0656

IMG_0665


Not only does this system looks cool, it also has a couple unique features that I have only incorporated into this specific XBOOK. First off is design. The shield on the back of the system is using a brushed metal vinyl work on top of acrylic to give the shield depth and the illusion of metal. The star in the middle of the shield lights up when the XBOX is turned on and really does look stunning in person. The inside goes with Captain’s uniform utilizing the middle silver star with accents around it. Seeing as the system needs to vent, it only seemed appropriate to use stars as the vents, so those were brought into the design. Now what makes this system unique you ask other than some decal work? Well it has a built in HD Capture card!

IMG_0659


Thumbnail


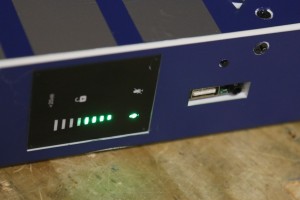
A Hauppauge HD PVR Rocket was installed into this system permanently. As you can see from the photo, all of the touch sensors and buttons are still accessible through the side of the unit. All you need to do is plug in a USB stick and a mic (if you want to narrate) and begin recording your session! This system records directly onto the USB stick, so all you need to do is plug it into your computer when your done, and your good to go! This is something I have been wanting to do for awhile and thought the Captain deserved such a mod!


Now Lets see how Iron Man stacks up against the Cap!

IMG_0646

IMG_0647

IMG_0648

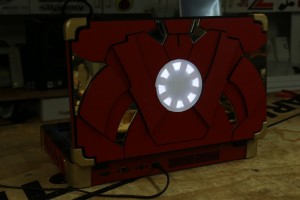
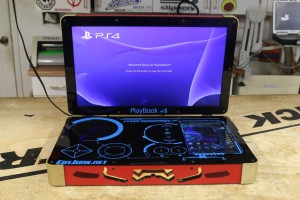
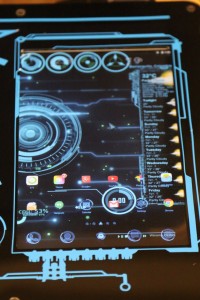
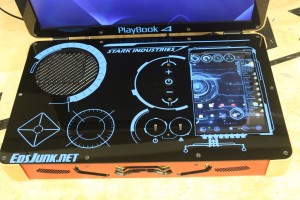
If you don’t recognize Iron Man in this system, I do not know what will! This system was built from the ground up with Tony Stark in mind! I thought, when Tony is not working on his next Mk for a Iron Man and he wants to game… It has got to be through a PLAYBOOK 4 that looks like this! Clearly the only way to power such a beast of a system is to give it its own Arc Reactor centered in Iron Man Armor. This arc reactor lights up whenever the system is powered and gives it a great look! The otter shell is composed of Hot Rod Red Armor and Gold trim work, just to Mr Starks specs. Now when you think of what is inside Iron Man, the only logical answer is JARVIS. What is Iron Man without JARVIS?! The inside is made up Black Acrylic with Blue H.U.D. accents. Now what this system has that is unique to any other PLAYBOOK is a built in Android as a secondary screen!

IMG_0650

IMG_0649


ironman3_Hud_Design


This Android is a 10″ screen and is not there only for looks… it has function! When the PS4 teams up with Android and PS4 App, they make quite the pair! You have the ability to control the PS4 directly from the touch screen, eliminating the need for a controller if say you only wanted to watch a movie. Also while playing a game, you can check you PSN updates, messages and notifications without leaving your game.. just look down at the second screen and your done! The Android will also act as a keyboard for when you need to input text into a game. Much easier than using the controller! It can also function as a normal android as well, allowing you to check your email, search the web for a walk though guide to the game, or play music! The Android charger is also built in, so when the system is on, the android is on! Pretty slick, and I don’t think Tony would have it any other way!

Also a small, but cool feature to this system, is when you plug it in, you are greeted with a JARVIS voice and he lets you know when your preferences are done uploading and your online and ready! Check out the youtube Video to see it in action!


2015-09-07 16.01.17

All in All these two systems and super unique and some of my best work to date. I wanted to top myself and do something different, but useful. I believe both systems has something for everyone and really are one of a kind items. These are not systems I plan on ever making again and was a one time deal. They took me MUCH longer than my standard systems to make and really show off their features.

If you are interested in purchasing a XBOOK or PLAYBOOK please check out www.xbookone.com or www.playbook4.com for more information!

R2-D2 Themed Star Wars PlayBook 4

2015-07-20 21.18.17

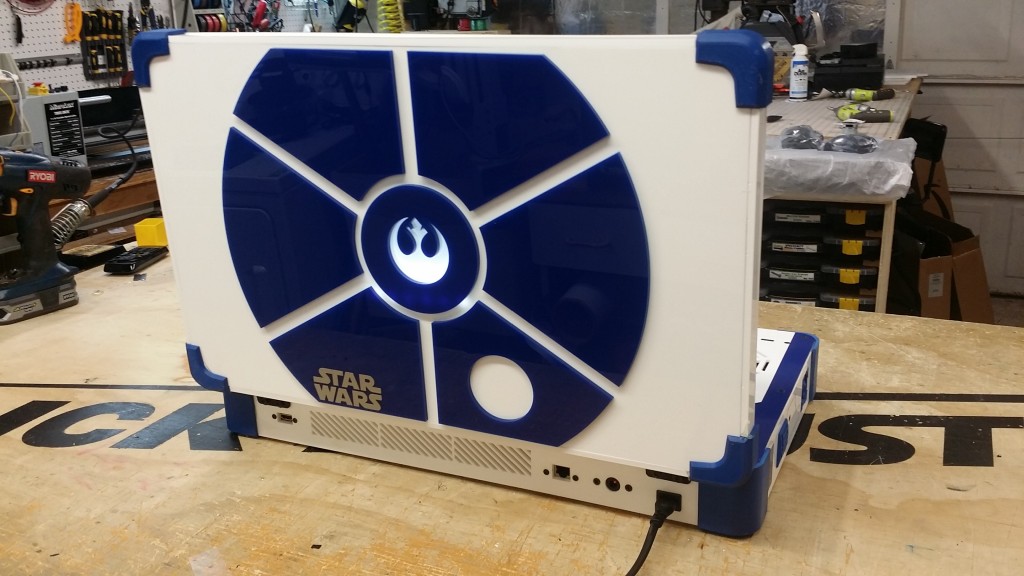
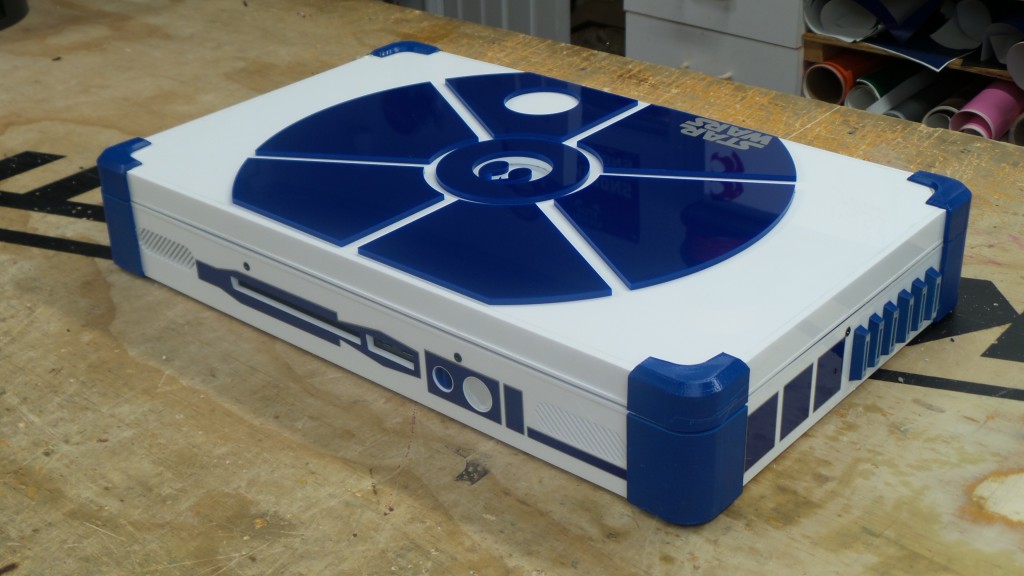
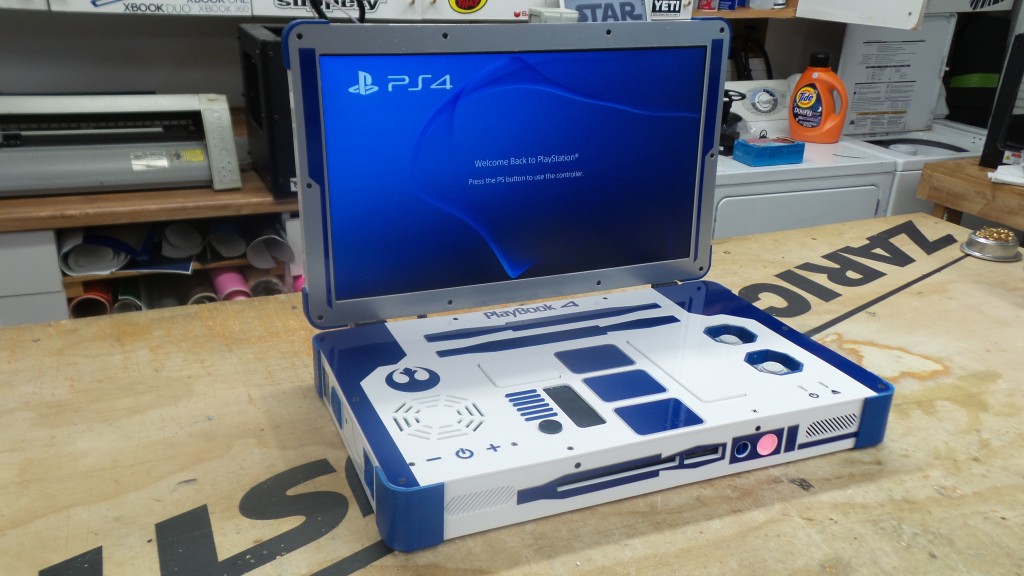
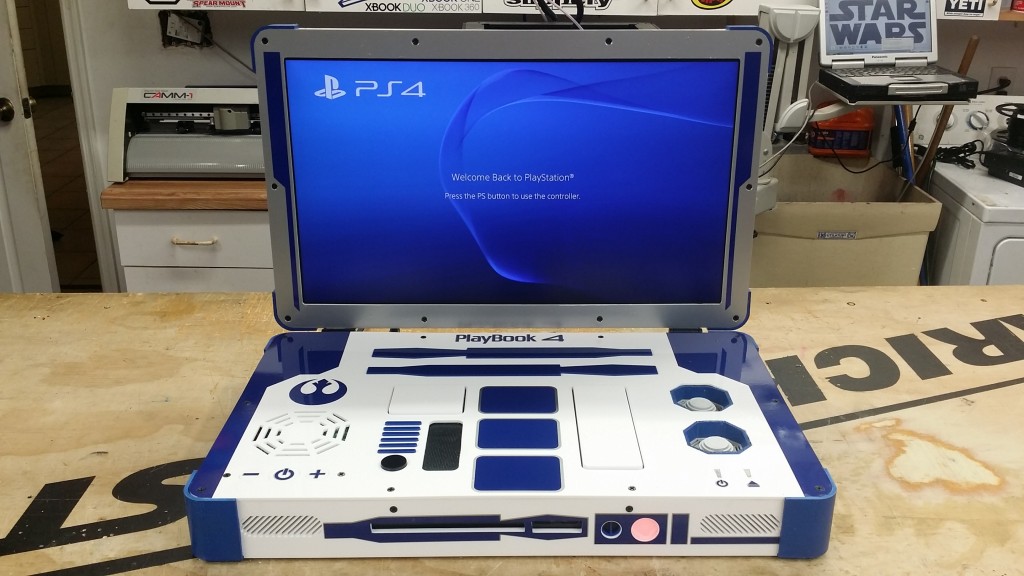
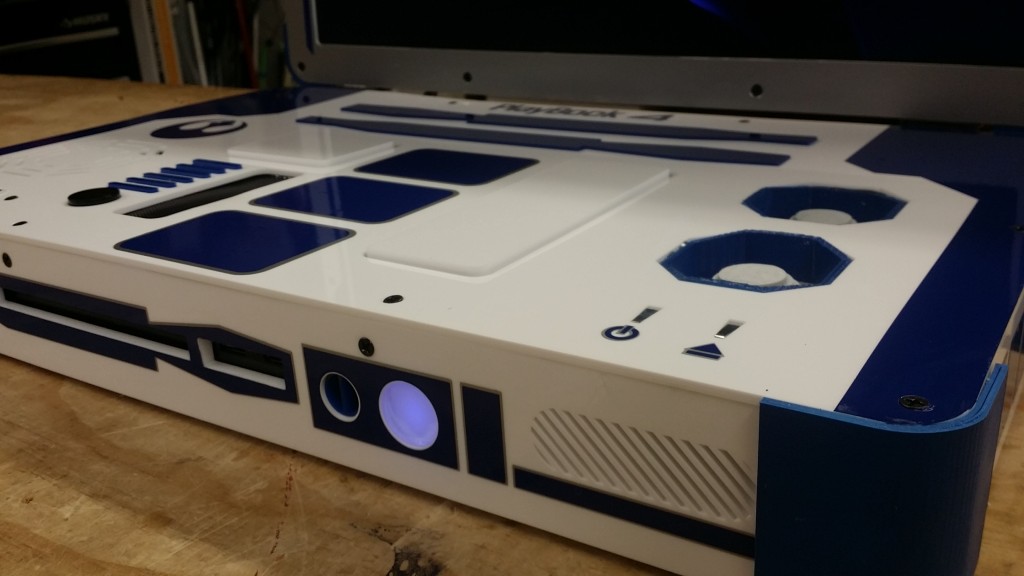
The Star Wars R2-D2 PlayBook 4

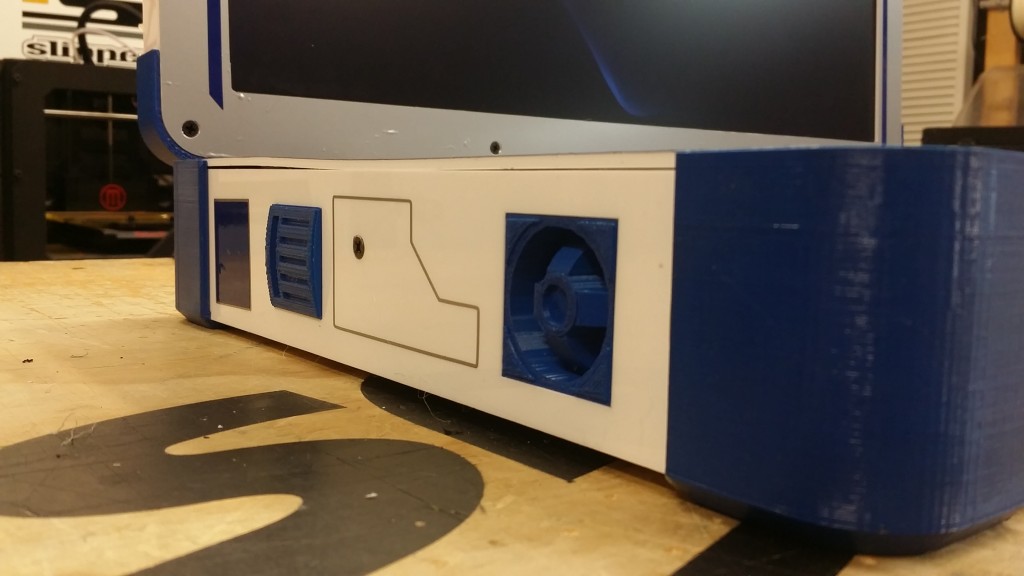
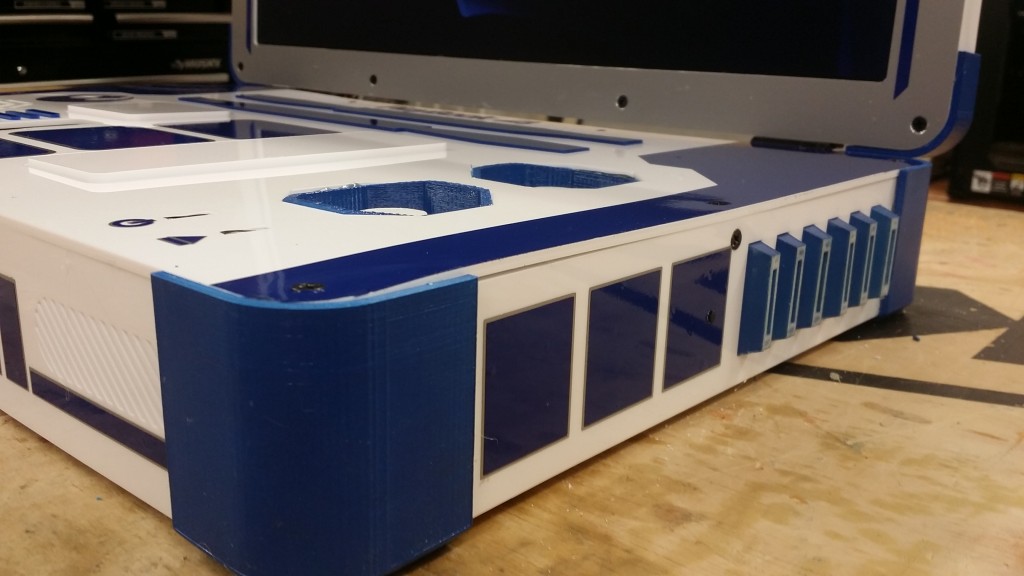
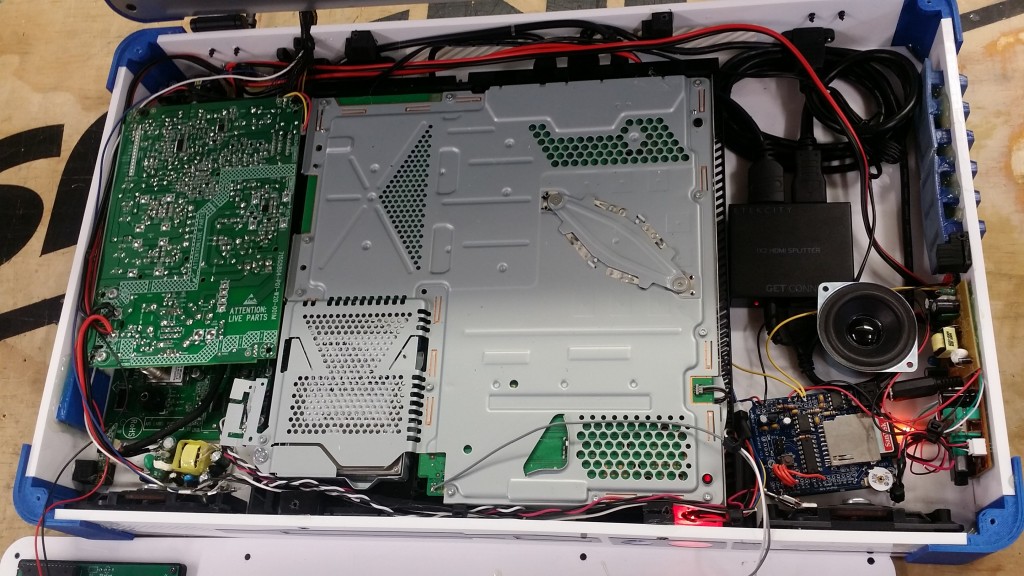
I must say, this has been my most favorite system to work on to date. It kind of pays respect to the R2 XBOX 360 system a while ago. A R2-D2 Theme has been a lot of fun and I was really abe to use my imagination on this guy. Thanks to the forum www.astromech.net, I was able to get sound effects and 3D printed parts to use on this system. This system has real scaled down R2 parts installed everywhere!  It even has the red/blue light on the front that changes randomly while its on! And with the help of a Adafruit WAVEShield, I was able to have this little guy actually talk. Check out the video and the rest of the photos, including a inside shot, to see all the details.  This is a example of some of the custom work I can do for my systems.


Here are all of the photos I have of it. I built this system for no one in particular, I just wanted a fun challenge!

2015-07-20 21.18.55

2015-07-20 21.23.19

2015-07-20 21.10.55

2015-07-20 21.18.17

2015-07-20 21.18.44

2015-07-20 21.18.37

2015-07-20 21.18.27

2015-07-21 00.10.03

PLAYBOX 4One Mk II

playboxlogo

Mk II

The 24″ PS4/XBOX ONE Combo Laptop – The PlayBox 4One

This system is no longer being produced. You can still purchase the single systems though.

(Check out the Original PlayBox 4One HERE)

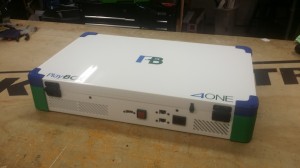
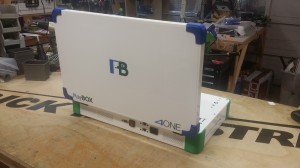
Well, You asked and I delivered! I introduce you to the PlayBox 4One Mk II! I have gotten an overwhelming response to my original PlayBox 4One prototype I made and put on YouTube a few months ago. It was based off the same 22″ LCD as my other single system laptops which made it slightly to small for everything to fit. Don’t get me wrong, the few I made worked great, but I had to charge a lot because of how much time it took me to build. There was a lot of trail and error for each one I made surprisingly enough. On top of that, the 22″ Vizio TVs I was purchasing were drying up and I was unable to find a sufficient supply since I needed them my single system units. Well I had enough of that, and thought of what else I could do to make this better.

On the same day I was researching different and slightly bigger LCDs, I was contacted by Wayne Brady (@waynebrady), who was very excited to have his own PlayBox built, especially with a bigger screen. So this gave me the encouragement to move forward and get the Mk II underway!

1


Just like the first version, it has both a PS4 and XBOX One inside of the system. PS4 on the left and a XBOX One on the right. There is a smart HDMI switcher that automatically selects the correct input and sends that signal to both the 24″ internal LCD and also out of a HDMI output on the back of the unit to hook to your big screen at home! You still need to have the screen open when using it on a external screen because it needs to ventilate the heat. The HDMI out is on the back of the unit along with a USB for the XBOX, A switch to select which system you want and your power port. You only need a single power wire to run this system, all of the power supplies are internal. The switch on the back of the unit allows you to select which system you want to use. There is no reason to run both the PS4 and XBOX at the same time, especially since it will overheat the system, so a switch is added to only allow one or the other on.

2015-05-31 16.55.14

2015-05-31 16.53.08

2015-05-31 16.51.27

The Screen is a beautiful 24″ Vizio 1080p LED LCD Smart Monitor. The games look much better on this screen compared to my other systems. It has a glossy finish and is really bright and vivid. The LCD itself has its own wifi to allow you to watch Netflix, Amazon ext without having to power up the PS4 or XBOX. Or my favorite, quickly switching to NetFlix when the XBOX is taking forever to install your new game you cant wait to play!

Both the PS4 and XBOX One remain stock. The reason I do no system software modifications is because I want this to be able to play online without any fuss. These systems both work as if you were to buy them from the store. They have WiFi, wireless controllers, ext. The one thing that does not work is the kinect or ps4 camera. I am unable to relocated those ports, so it was sacrificed.

*AGAIN, LIKE ALL OF MY OTHER SYSTEMS, THIS DOES NOT RUN ON BATTERIES*

2015-05-31 16.52.05

2015-05-31 16.54.14

2015-05-31 16.55.35


This system is no longer being produced. You can still purchase the single systems though. Check out

www.PlayBook4.com
www.XBOOKONE.com

*******

Please note that there may be minor differences on the design of the unit, as in Screw Locations, Air Vents and buttons. These may only be minor changes that are actually improvements on the units design and function.

Also please note that these units run on 110v AC Power, if your an international customer and need to use 220v or 240v, please plan on using some sort of step down transformer as I do not give any guarantee on using the system on other power systems.

 Inside this unit is a Sony PlayStation 4 and Microsoft XBOX One. The PS4 and XBOX has not been altered in any way that would be illegal on the PlayStation Network or XBOX Live. It has no performance modification or enhancements. The PLAYBOX 4One is simply just a plastic case that holds a PS4 and XBOX One inside with a LCD Screen. I am in no way affiliated with Sony, PlayStation, Microsoft or XBOX.  It does not have a Sony or Microsoft warranty as you loose the warranty as soon as you take a PS4 or XBOX apart. I will guarantee it will not be DOA. It is non returnable as these are custom made for each individual buyer.

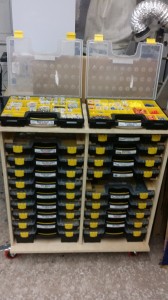
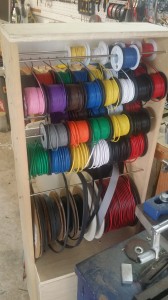
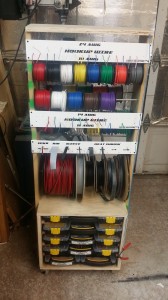
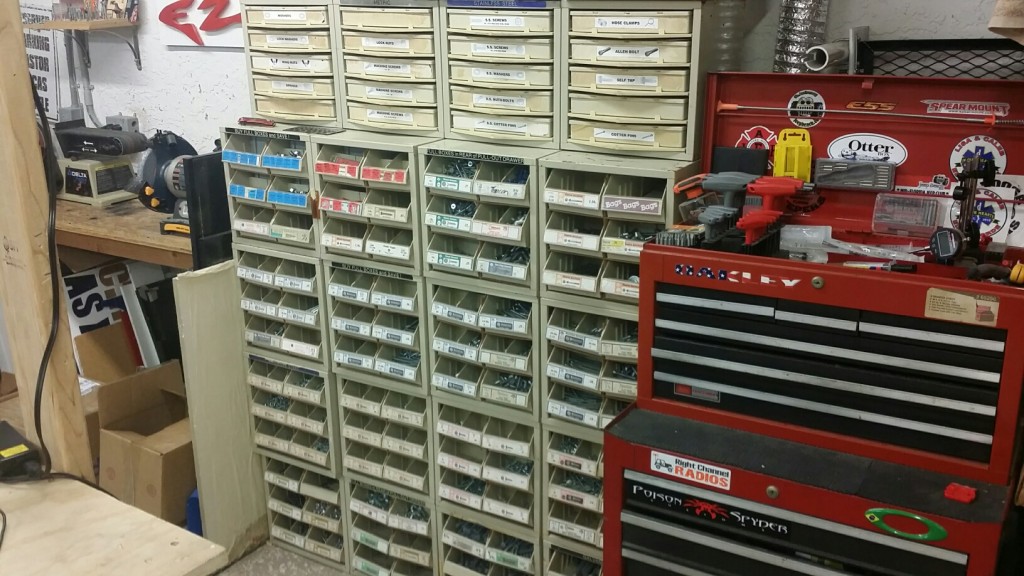
Hardware and Wire Organization

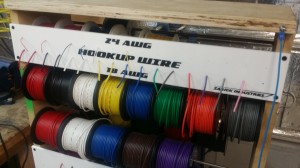
Wanted to throw up a quick post of my a system I threw together to organize all of my hardware and wire. Pretty simply really, but thats all it needed! I purchased the cases from harbor freight ( http://www.harborfreight.com/19-bin-portable-parts-storage-case-93928.html ) and they are only like 6-8 dollars each.

2015-05-07 18.34.47 2015-05-22 17.29.12 2015-05-22 17.35.05 2015-05-22 17.35.13

PLAYBOX – PS4 / XBOX ONE COMBO Laptop

playboxlogo


The First PS4 / XBOX ONE Combination Laptop!


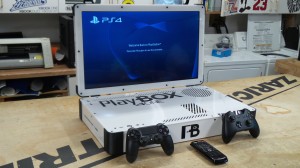
Well guys, I did it… I managed to cram a Playstation 4 and a XBOX ONE into a 22″ Laptop form factor. This was a prototype unit I made for a specific customer and it came out beautifully! This is the same size of the XBOOK DUO, which is only a tad bit taller than the XBOOK ONE or PLAYBOOK 4. Has the same 22″ Vizio Screen and works like a charm. Check out the video above and the photos below. If you want to see more in depth of how I build these units, check out my other videos, specifically the XBOOK DUO HOW TO Video, which explains step by step my process. The only issue I had with this unit was the PS4 capacitive Power button will not work consistently. I have determined it has something to do with interference with the XBOX ONE being so close. Luckily it turns on perfectly fine using the PS4 controller, and still will turn on with the button if you have patience.

2015-01-12 15.56.20


2015-01-12 15.54.32

The PS4 sits on the left hand side of the unit, and the XBOX ONE is on the right side. The whole unit still only takes one power cord (must be plugged in) and only one unit can be powered on at the same time. This system took a lot of attempts and reconfiguring to make everything fit and still some things had to be compromised to make the system work, for example it was impossible to get the USB ports on the XBOX to be extended to the outside of the case. But the unit does offer Ethernet ports for both units (WiFi for both units also works) Along with HDMI Out. Switching between the units is as easy as flipping the Red switch on the back of the unit. You can not power both units at the same time, I do it this way so you dont overheat the system. There is a Smart HDMI switcher inside that automatically selects the active input, that way you do not need to worry about making sure your on the right input. Just power it on and Play!

2015-01-12 15.22.41


2015-01-12 15.22.46

2015-01-12 15.51.34

2015-01-12 15.51.46


This was a prototype unit I made for a customer and is not for sale. Additional units may be built in the future, but due to the high cost and complexity of the process, it will be substantially more than my normal XBOOKs or PLAYBOOKs. Email me for details if your a seriously interested customer.


playboxlogo2


XBOOK DUO

xbookduologo
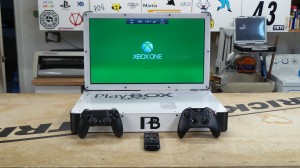
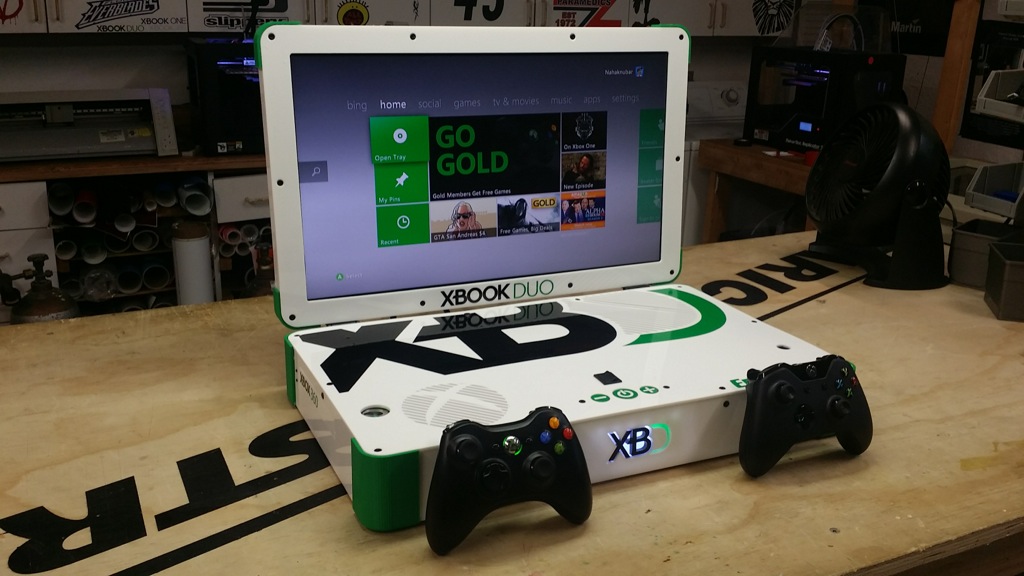
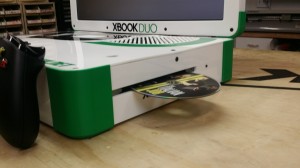
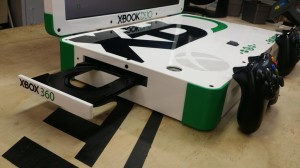
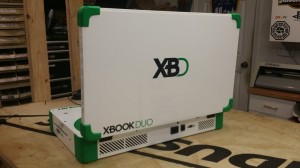
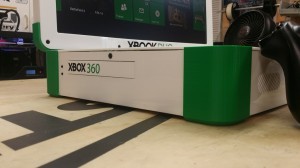
The XBOX 360/ONE Combination Laptop! Yes you heard right, there is both a xbox 360 AND a xbox one inside of this XBOOK… THE XBOOK DUO! This solves the life long problem of the XBOX ONE not being backwards compatible! Play XBOX ONE games, and when you feeling nostalgic, or cant play with your friends that still have a 360, with just a simple flip of the switch you now have a xbox 360 laptop! This is the first ever XBOX Laptop combo unit with 2 systems installed. Check out the video below. I also filmed almost every step of me building this unit for your enjoyment! So check out the HOW TO video as well!


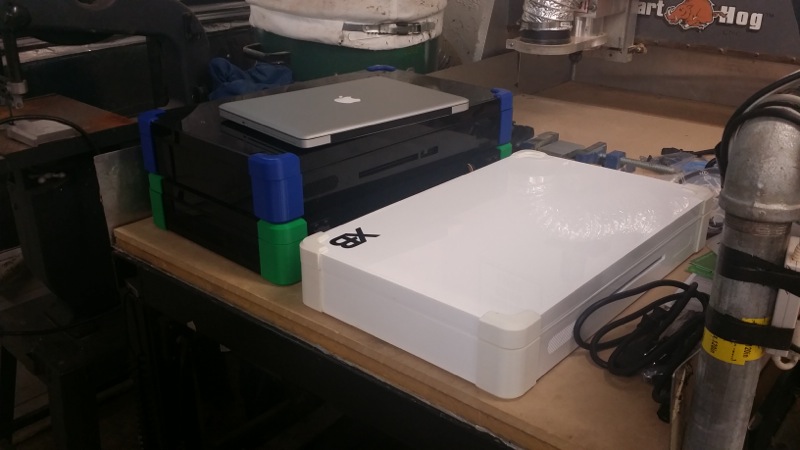
Now please note this system is not available for sale, it was simply a proof of concept/prototype design I wanted to make. But it is real, and works perfectly! Both the XBOX 360 and XBOX ONE fit in the same width/length of the XBOOK and PLAYBOOKs I make, its only a little bit higher.


20141028_002503


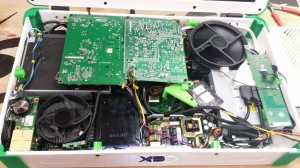
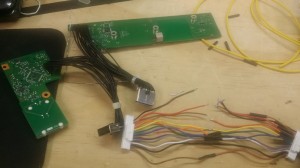
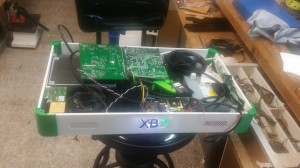
Now the inside of this unit is even more impressive that it all fit. The 360 fits snuggly on the left side of the unit with the disk drive exiting from the left side. The One is up towards the top right and, you guessed it, ejects on the right side of the unit. The whole thing only requires one cord. The xbox power supply is also installed internally and is able to power both XBOXs, but only one at a time, which is all you would use anyway. There is a main switch that you can choose whether you are using the XBOX 360 or the XBOX ONE. The HDMI outputs from the two xboxs run into a smart HDMI switcher that automatically switches to the active input. The HDMI then comes out of the switcher into a splitter that allows you to use the built in 22″ Vizio 1080p LED LCD monitor, or to the HDMI output on the back of the unit to play on the big TV at home. You can also see the two LCD driver boards inside of the unit as well. All of the cooling works well and so far I haven’t had any over heating issues. Its a tight fit inside, but really looks sweet!


20141027_184614

20141028_002542

20141028_002517

Both of the stock xbox capacitive buttons are accessible from the top of the unit along with the eject buttons and both controller sync buttons. There was a lot of extra wiring I had to do for this unit to make it all fit in the appropriate spots. You even have the LCD power and volume buttons right bellow the “system switch”. You still need to use two different controllers, since they are different, but still is cool! This really is a great unit to have right now during this “transition period” for old and next gen consoles.

20141026_225302

20141027_012614


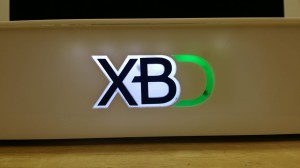
I also added some custom graphics to show off the “XBOOK DUO” I also made a backlit “XBD” logo on the front of the unit that illuminates when I turn on either console. Also with some custom Green and Black accents, it really came out looking sweet!

20141028_002735

20141028_001943

20141028_001908


If you guys want to see an in depth look at how I build these units (The basics I show you are the same basics I use to build all of my XBOOKs and PLAYBOOKs) Check out the video below. Also please check out my XBOOK ONE and PLAYBOOK 4 Both of these have videos and show off my mods!


Again guys, this unit was not built to be produced to sell, this is a one of a kind prototype.


Hope you enjoyed!

Ed

xbulogo

PLAYBOOK 4

*PLEASE NOTE*

I am in no way affiliated with Sony or PlayStation. The PLAYBOOK is simply a console modification for a Sony PS4. This is not a licensed Sony Product and should not be confused as such. It is a custom made item by EdsJunk.

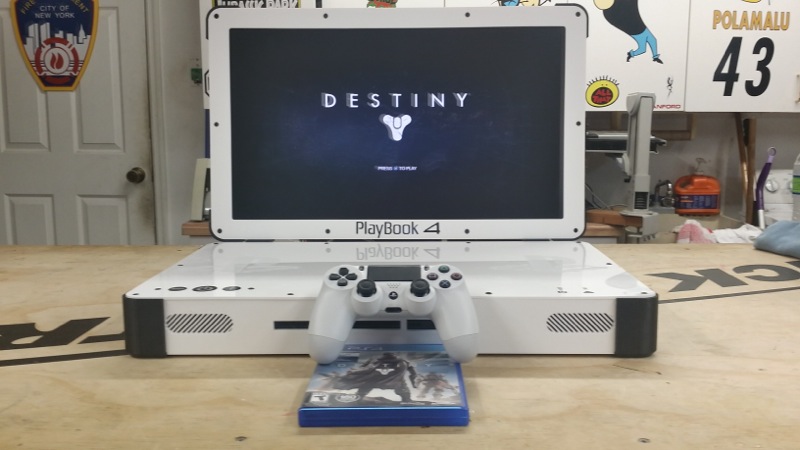
Well everyone, due to popular demand, here it is… The PLAYBOOK 4! I had alot of requests if I had plans to make one, and it seemed to happen quicker than later! I had some time in between XBOOK orders to get this one made! It came out awesome and really does look sharp! Check out the video and photos below!


1

2


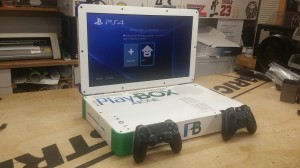
  This system is built on the same foundation on my XBOOK ONE (xbox one laptop), Its all been designed in 3D and then manufactured by me using 3D printers, Laser Cutters and CNC Machinery to give a great looking design. Its simple, yet detailed. The system just screams play me! Luckily for me, the Destiny version of a PS4 is white and black, So that makes the PS4 controller match the new white system I designed. So I am calling this one the Destiny Edition! But if you want your own, you can choose almost any color you’d like for the corners, logos and the main body can be either black or white.
 

20141014_170746


  The whole thing has been designed to go together almost seamlessly. All of the 3D prints and laser cut acrylic fit nicely into each other and all match up. It is all pieced together using glue, screws and chemical cements to form the main body, just like the XBOOKs, These are sturdy and very strong. Now I still must say these are not “toys” and should be treated with care, but they wont fall apart on you thats for sure! I have been designing systems for awhile now and have solved any problems I have had in the past.


20141014_223209_Richtone(HDR) 20141014_170733\ 20141014_170740


Just like the XBOOKs, these PLAYBOOKs use 22″ Vizio 1080p LED LCD Televisions. These are very crisp clean screens and really make your games look great. But if you want to play on a bigger screen, a HDMI out port can be included so you can play on your tv at home! Also included on the back of the unit is your power plug, Optical Audio out and Ethernet out. The WiFi also still works, so you can play wireless! That being said, this unit does NOT have a battery, it must be plugged into a 110v wall outlet to work. These game consoles are just not designed to run on batteries, sorry guys! Now I could go on and on about all of the details, but I recommend checking out my XBOOK ONE page, and I show a lot more info. This system is built very similar to the XBOOK, so that will explain more. I have to admit the white version looks great, but so does the black one. Honestly, out of all the ones I have built, I have not seen a bad color combo! But this Destiny version might be my favorite!


20141014_222145_Richtone(HDR)


  I will be pricing these the same as the XBOOK ONEs. It will be $1395.00 for a PlayBook 4 without HDMI OUT. To get HDMI out, it is a extra $50.00 to cover the costs of hardware to do that. You can also send me your PS4 if you would like to save a little bit, I will just use yours as the main system inside the unit.

PlayBook 4 – $1,495.00 USD

PlayBook 4 (you provide your PS4) – $1,195.00

W/ HDMI OUT – +$50.00 USD
Flat Rate Shipping of $100.00 to 48 US States Please contact me first if your international or at a APO or similar.


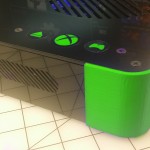
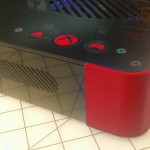
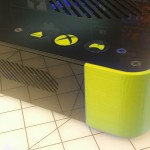
  Heres how the ordering will work. Click the Paypal button on the bottom of this site and you will pay $750.00 upfront nonrefundable deposit. This gets your name put on the list (trust me, its gets full quick) and gets me working on your PlayBook. After its completed, you will pay the remainder and shipping and your PlayBook will be shipped out! Once I start on your unit, it will take 2-3 weeks to complete. There may be people in front of you, so be aware of that. If you have any questions at all, please go to my contact page HERE and send me a message! I will be in contact with you through the building process and will make it personalized for you!   You are able to pick the color of the accents and corners, also the color of the acrylic, either black or white.   Color choices for the corners are: Black, Red, Yellow, Blue, Green, Copper, Silver, Grey, Orange, White, Purple, Pink and more, just ask me if there is something specific you want.   I can do full graphic customization if you want as well, it does cost more to do full custom work, but let me know.   (These are just examples to see different color options, but you can choose other colors as well, just email me!)    8green 8red 8yellow  
 

Please note that there may be minor differences on the design of the unit, as in Screw Locations, Air Vents and buttons. These may only be minor changes that are actually improvements on the units design and function.

Also please note that these units run on 110v AC Power, if your an international customer and need to use 220v or 240v, please plan on using some sort of step down transformer as I do not give any guarantee on using the system on other power systems.


Inside this unit is a Sony PlayStation 4. The PS4 has not been altered in any way that would be illegal on the PlayStation Network. It has no performance modification or enhancements. The PLAYBOOK is simply just a plastic case that holds a PS4 inside with a LCD Screen. I am in no way affiliated with Sony or PlayStation.  It does not have a Sony warranty as you loose the warranty as soon as you take a PS4 apart. I will guarantee it will not be DOA. It is non returnable as these are custom made for each individual buyer.  

XBOOK ONE

xbookone

*PLEASE NOTE* I am in no way affiliated with Microsoft or Xbox. The XBOOK is simply a console modification for a Microsoft XBOX One. This is not a licensed Microsoft Product and should not be confused as such. It is a custom made item by EdsJunk.

THE XBOOK HAS BEEN REPLACED BY THE NEW XBOOK ONE S. Check it out HERE.


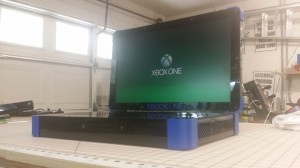
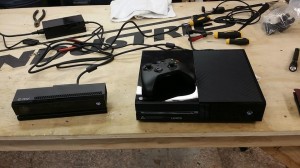
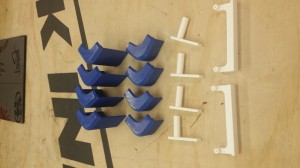
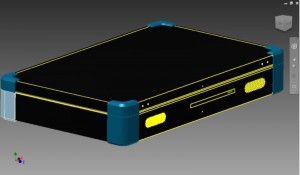
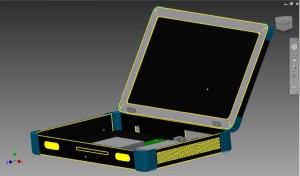
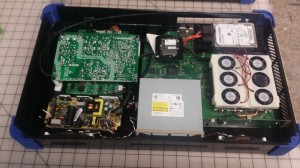
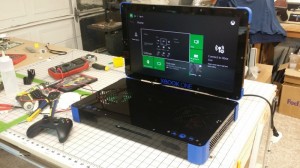
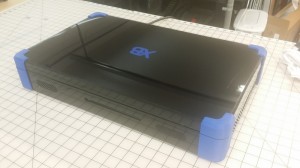
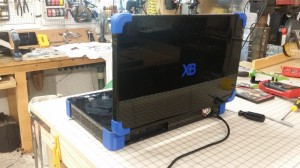
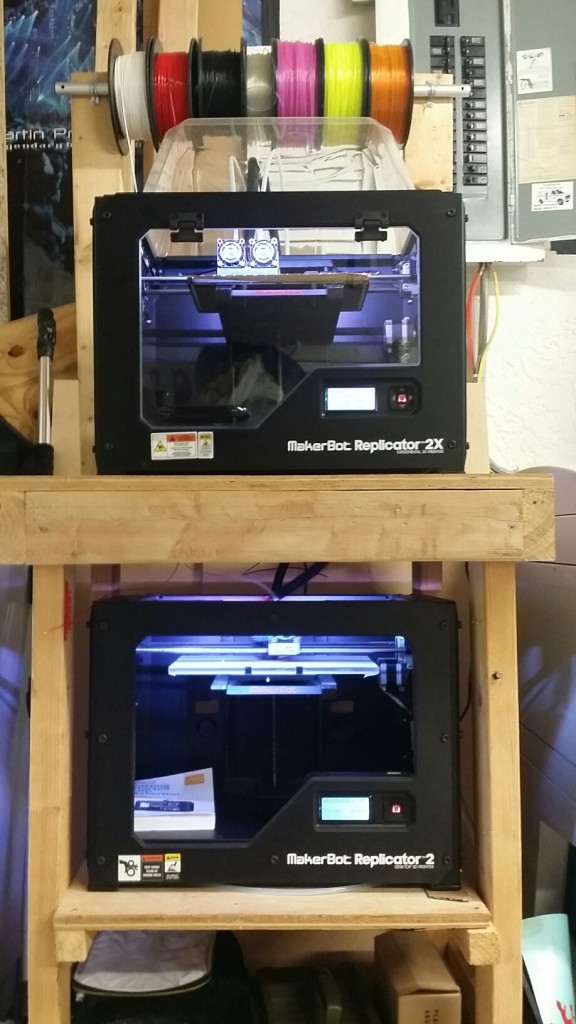
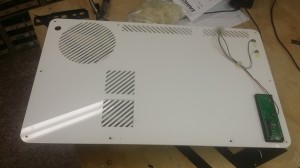
It was only a matter of time until I got around to making a XBOOK ONE! For those of you not familiar with my previous work on xbox laptops, I call them XBOOKs. I made quite a few of the XBOOK 360s over the last couple years, probably around 30 of them. But the xbox 360 is old news… out with the old, in with the new! So I now announce the XBOOK ONE! One of the first laptop mods for the Xbox One. Hope you like it as much as I do! 12 It all started about two months ago when I decided it was time to finally tear down a new xbox one… tear…. but I knew it would be worth the sacrifice of the xbox one to give birth to the XBOOK ONE! I wanted this new xbook to be cleaner, thinner, easier to build, and more over all more cool. The xbook 360 had a 19″ 720p screen, I wanted bigger and better! So I went with a 22″ LED LCD monitor. This things is incredible sharp, as it should be at 1080p resolution. I swear this thing looks better than on my big TV! On my old xbook, after playing long hours, my eyes would be tired of looking at a small screen, so I went with this bigger size, but all the while, I actually got the laptop another .25″ thinner. So the tear down began……. 10468641_10203518339654381_7904067305038140573_n   1 Since my last xbook build, I have acquired even more machines to help out with productivity. I have purchased two makerbot replicator 2s. (Check out my shop tour) These machines at first didn’t do much around my shop, but now that I have found there niche, they have been a huge asset around the shop. I am printing the corner pieces, brackets, custom component mounts and such that I just wasn’t able to do before. This has been HUGE in making the XBOOK ONE. It is giving me the opportunity to create things I just wasn’t able to before. Here are some parts. 2   What is also different with 3D printing and to what I was use to with the laser and cnc router, is I now need to design in full 3D. There was a learning curve to this. But now that I understand it, it has also been a huge step in making these xbooks. I can now design the whole thing digitally and see what will fit and what wont. This also helps out tremendously for measuring parts. I sat down with Autodesk Inventor and drew up all of the parts and starting creating the XBOOK ONE. And then I was able to send each machine the parts it needs to make and then amazingly enough, everything matched up perfectly my first go! Which was impressive to me to say the least.   17 16   Some other things I have done better on this version compared to my last xbook is the LCD LVDS Cable. The ones that come with most monitors, like the Vizio I’m using, the cable from the controller board to the lcd is about 4 inches long. This doesn’t play well when I’m trying to make a laptop. I need it much longer. I use to extend the cables myself, or have my good buddy Mike Burnette do it (There’s your shout out Mike). This involved cutting each of the 30 wires and extending them all individually and soldering all of them. This took a couple hours and the cable was much bigger than it needed it be. Well I found a solution! I discovered a company that will make custom LVDS cables for me at the length and specifications I need! Yes, this cost money, but money well spent I say! Its much thinner cable and no solder points! It gives it that much more professional look! I also changed the location of the speakers from the LCD bezel to the front of the unit. I did this because the screen is so big, anything I can cut off of it will be space well saved. The volume controls, along with the xbox controls, are all on the inside of the unit now instead of the out. No reason in particular except that I wanted to. 3 A custom fan shroud was 3D printed to help save space as well. The stock xbox one fan is really tall. I was able to get more CFM with these fans then the one big fan. So far I have had not a single heating issue and it seems to be cooling efficiently. You can also see in that picture above about where all of the components went, there are some slight differences in the production run of these XBOOKs, but you get the general idea! Also, using all laser cut acrylic gave me the ability to keep the lines clean. I was able to cut through the walls of the case exactly where they needed to be, like the bluray drive opening for example. Also I was able to laser cut all of the screw holes for the components and hinges so everything lines up perfectly when assembled. This again was a improvement over the old design. As for the motherboard of the xbox, it was not changed in anyway to make it illegal to play on xbox live. No performance mods were done and is basically a stock xbox inside. I did not move any of the ports either, but they are all still accessible in the back of the unit. So you can still plug in your Kinect, audio out, HDMI in, USB ports and such. By leaving the ports in the stock location, it keeps the integrity of the xbox whole. That way I don’t have to worry about a faulty solder connection breaking over time. This just keeps the unit reliable. An optional HDMI output can also be added. Just pay for the extra components needed to include this. This unit can be fully customizable to your liking. The blue accents and corners you see on this unit can be any number of colors you want, there is a list on the bottom to choose. I can also change the color of the vinyl graphics and add your gamertag if you’d like. Everything is up to you!   4 9 6 14
 

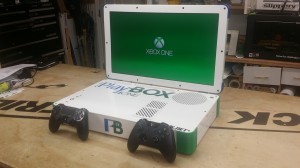
THE XBOOK HAS BEEN REPLACED BY THE NEW XBOOK ONE S. Check it out HERE.


I can do full graphic customization if you want as well, it does cost more to do full custom work, but let me know.

Please note that there may be minor differences on the design of the unit, as in Screw Locations, Air Vents and buttons. These may only be minor changes that are actually improvements on the units design and function.

Also please note that these units run on 110v AC Power, if your an international customer and need to use 220v or 240v, please plan on using some sort of step down transformer as I do not give any guarantee on using the system on other power systems.


8green 8red 8yellow


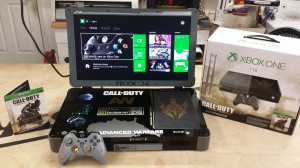
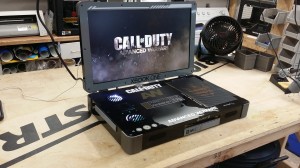
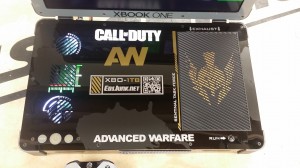
Here is some examples of custom designs that can be done to your XBOOK. It costs a bit more due to the time it takes to make a one of a kind product, but really does set your XBOOK apart from the rest! This one is the Call of Duty : Advanced Warefare Edition!
 

2014-11-04 02.46.10


2014-11-04 11.13.19


2014-11-04 02.38.05


Inside this unit is a Microsoft XBOX ONE. The xbox has not been altered in any way that would be illegal on xbox live. It has no performance modification or enhancements. The XBOOK is simply just a plastic case that holds a XBOX inside with a LCD Screen. I am in no way affiliated with Microsoft or Xbox.  It does not have a xbox warranty as you loose the warranty as soon as you take a xbox apart. I will guarantee it will not be DOA. It is non returnable as these are custom made for each individual buyer.

EdsJunk Home Shop Tour

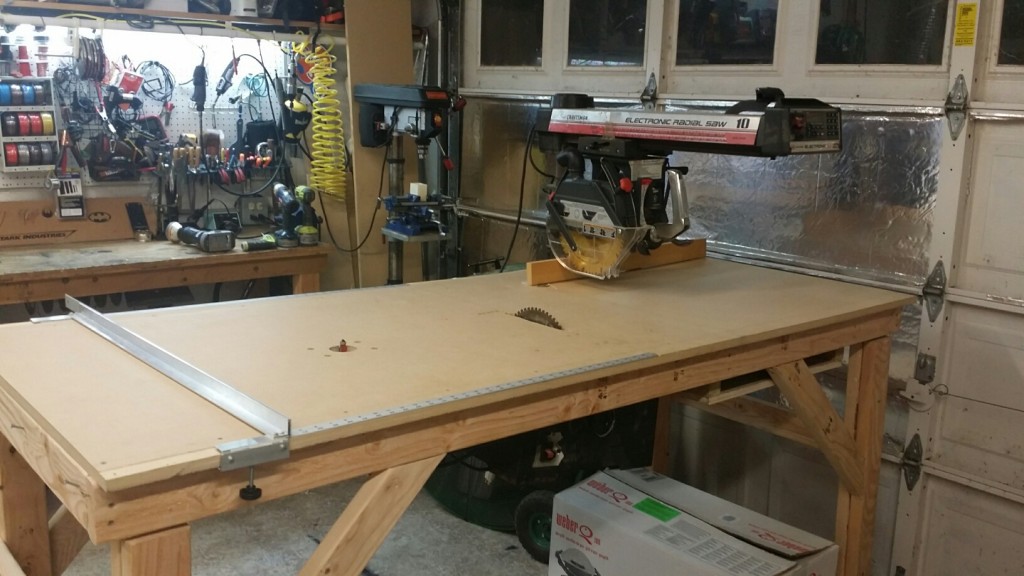
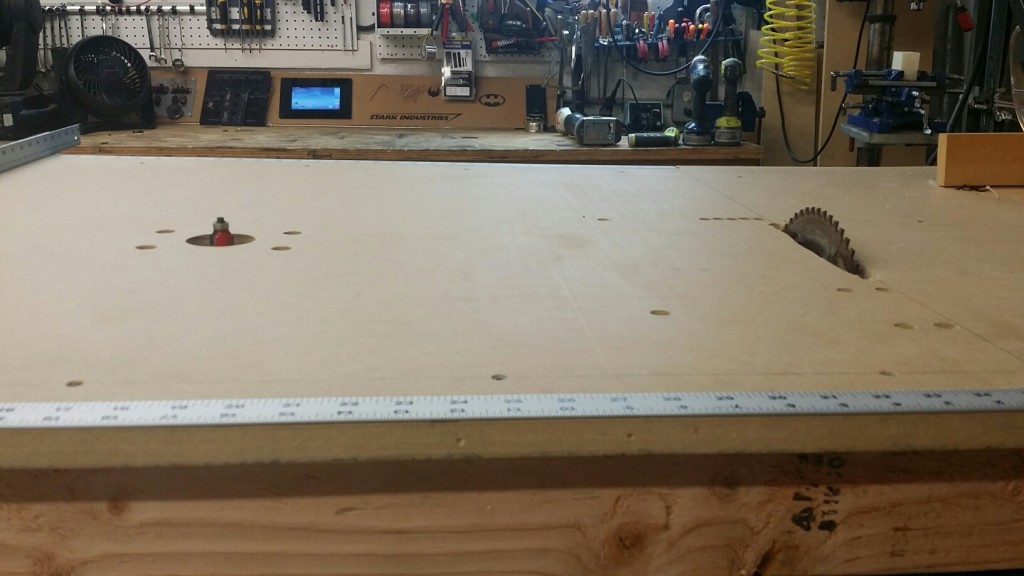
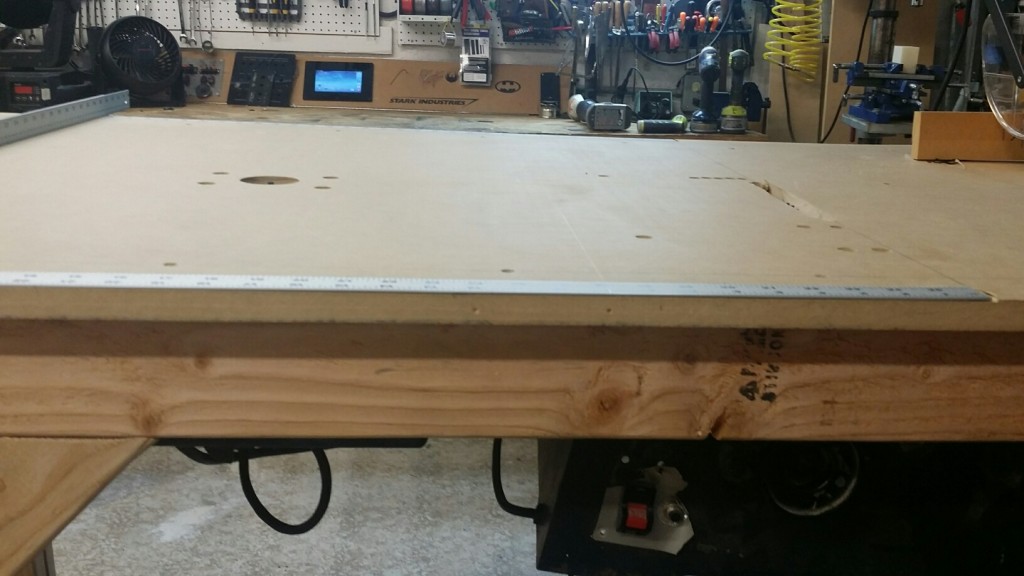
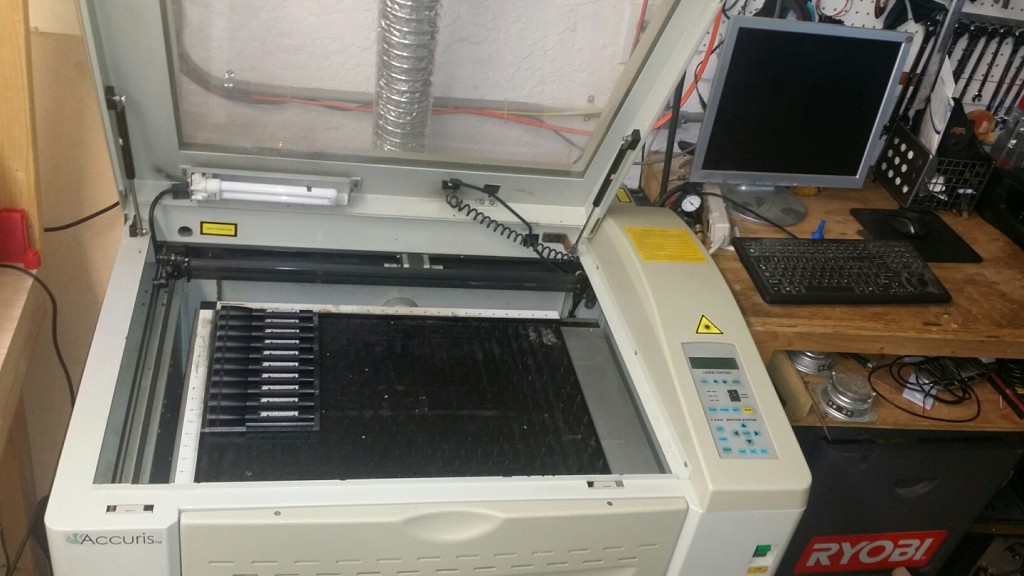
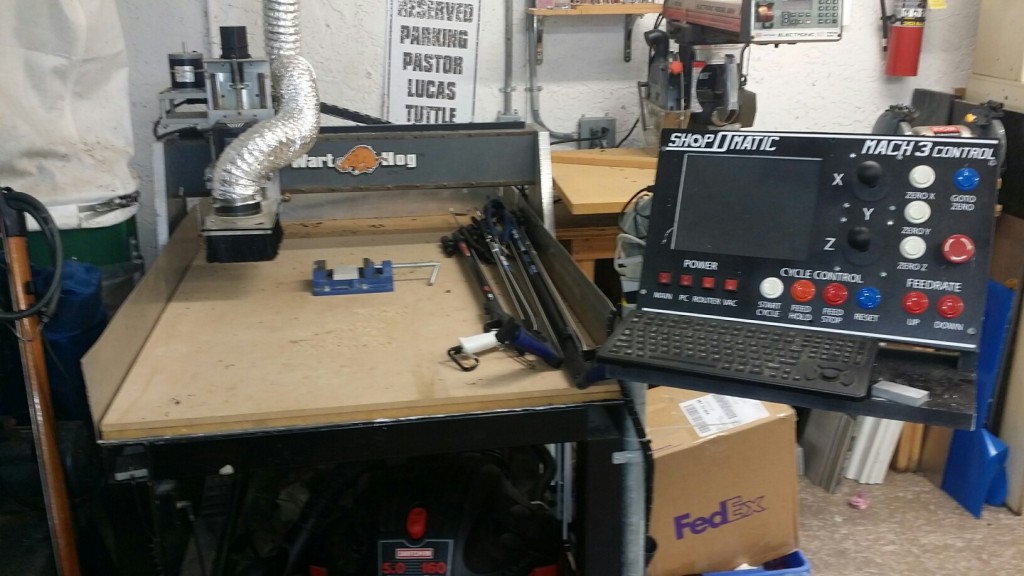
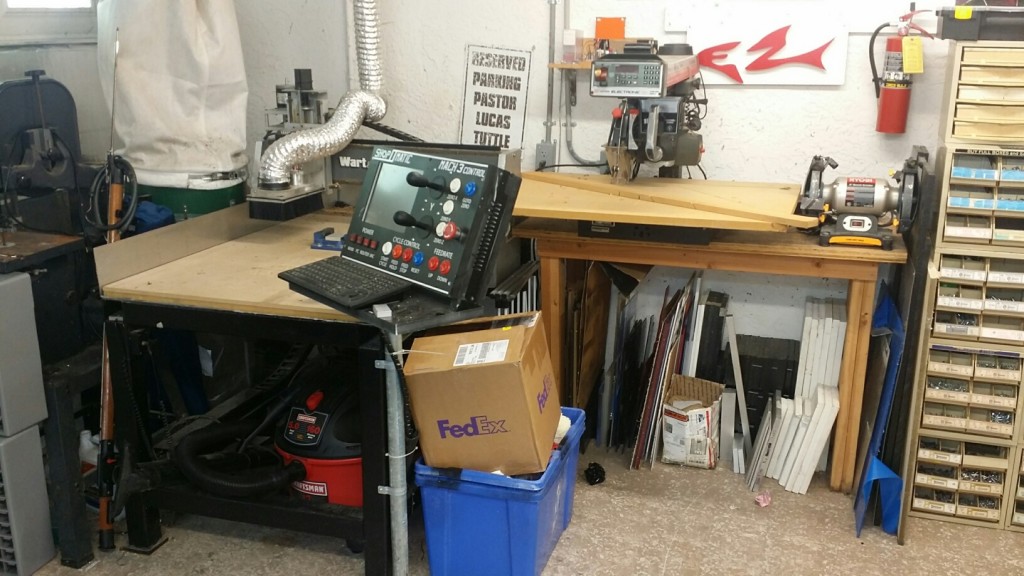
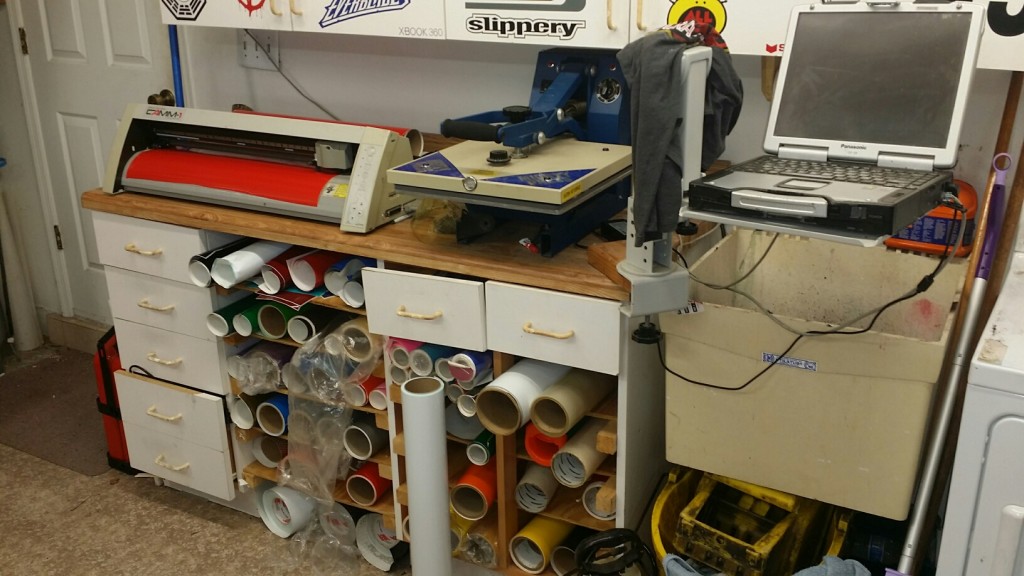
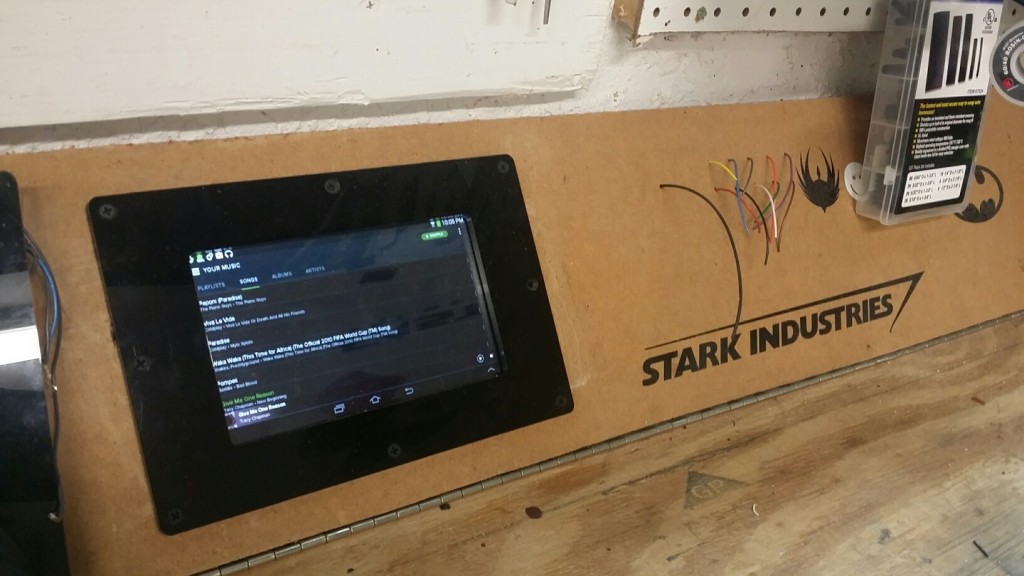
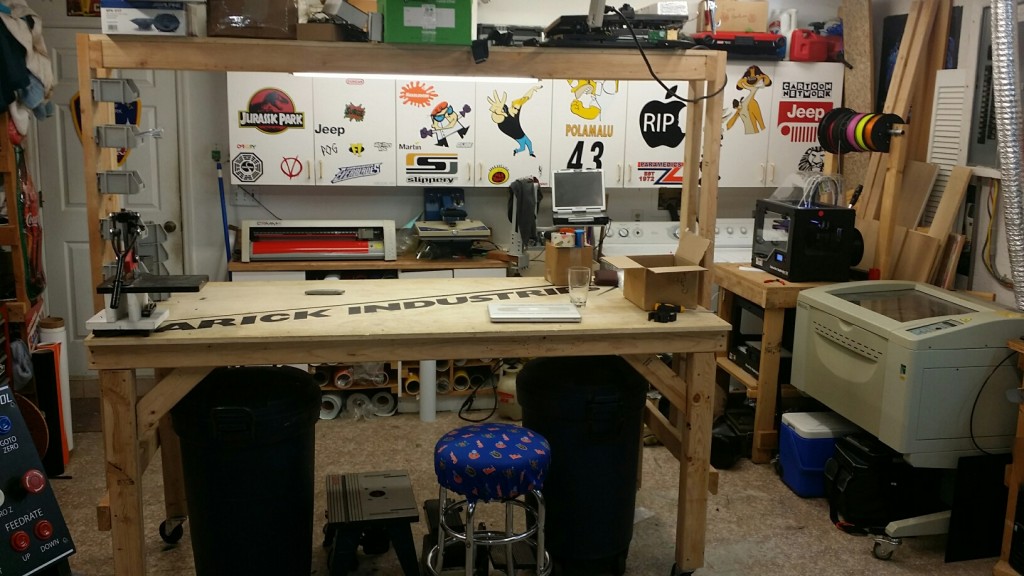
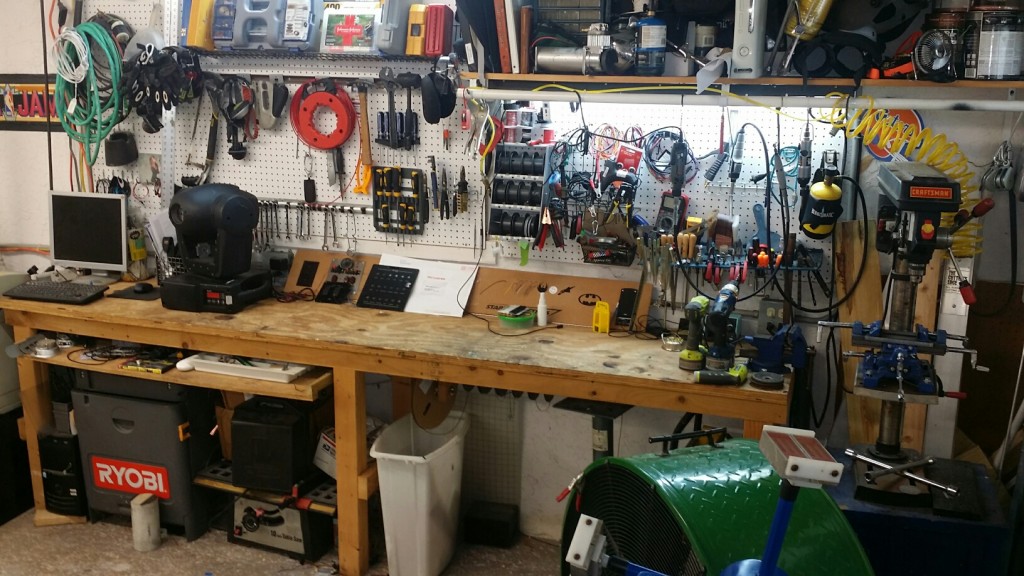
Here is a video of a tour of my workshop! If you have seen all my projects on this site, all of them were produced in this shop. A lot of these tools were purchased on craigslist at very reasonable prices. Some needed some work, but it all is up and running now. Most of these tools are typical at a local hackerspace, but I am unfortunate to not have a hackerspace or makerspace in my area. So I do not have a huge work space, but I do have a 2 car garage, and it started out quite empty. Over the last 5 years or so I have acquired a few tools and it has filled up quick, but with some strategic organizing, they all fit perfectly and have there place.

Check out the YouTube video and pictures, I like to have different benches for different purposes. One for wood cutting, metal work, soldering, designing and more.


20140731_184738_resized 20140831_220558_resized 20140831_220548_resized 20140831_220443_resized 20140812_175349_resized 20140812_171951_resized 20140812_171942_resized 20140812_171919_resized 20140831_220617_resized 20140831_220642_resized 20140812_171908_resized 20140812_171900_resized

My Home Movie Theater


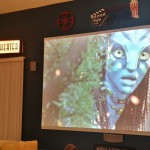
Here is one of my latest projects I have done in the last few months. Its more of a bigger home project I tackled with lots of little projects involved. I want to do my best to give you a overview of everything with out getting into to much crazy detail, but enough to keep you interested. A little history of this project, I have always wanted a home movie theater with projection screen, elevated seating ext. In fact when I build my next home, I will have a room specifically built for this purpose. In this case, I purchased my house about 5 years ago and have been saying I wanted to turn my living room into a theater since the day I bought it, so one day, I sat down and figured it all out!2014-01-29 09.00.08 2014-01-29 09.00.32


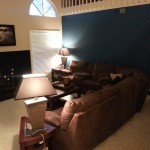
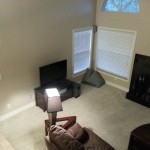
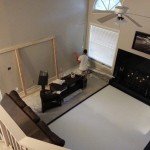
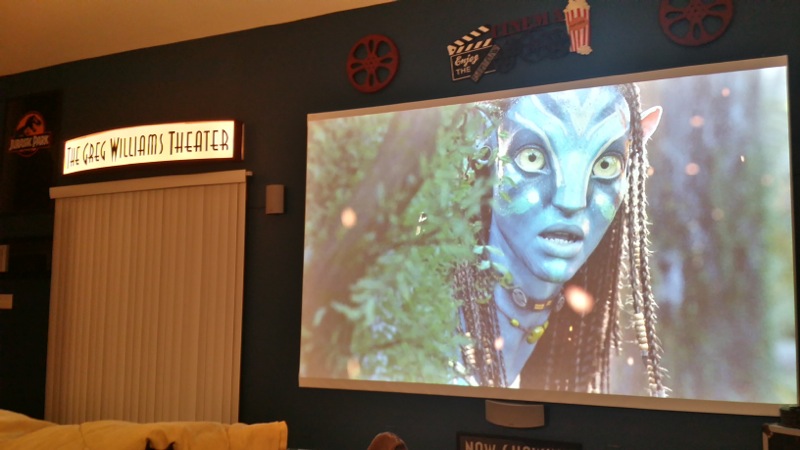
As you can see my living room wasn’t much to look at. That was only a 42″ Vizio LCD TV with a couch. Luckily for me, when I purchased the couch 5 years ago, I knew it was going to eventually be in a theater, So I bought one that had the recliner and cup holder setup. Very cool couch and pretty comfortable I must say! But yeah, not much to look at. The screen I planned on using was quite big, about 12′ wide, just enough to fit on the wall with speakers on either side of it, so clearly that window next to the TV had to go… So the drywall work and screen framing began!
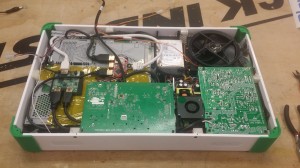
2014-01-29 15.25.09 2014-01-29 19.53.15 2014-01-29 19.53.32


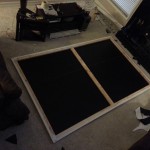
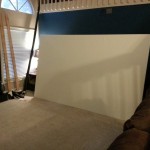
As you can see in these three photos, we went ahead and covered up the window, added the texture to match the rest of the wall and you can see the beginnings of the frame built for the screen. Now for the screen… There is a few way to go about this, one you can buy expensive screen paint to paint on the wall.. its very pricey, or you can use a matte white paint. Problem with these two ideas is that if you painting onto a wall with texture, it will look bad. You can also buy pre-made screens, but these usually come in certain sizes and you need to hope it will fix your application the way you want. What I went for was using screen material wrapped around a wood frame. What I like about this approach is that the screen almost looks like canvas art on the wall opposed to just a painted white rectangle. Also the benefit here was I had a used electric roll down screen that the screen material was destroyed, but only on the bottom 2 inches. And since it was a 4×3 screen, I didn’t need the bottom, plus I got it for free! Score! Here is photos of the framing work done on the screen. It was mounted with 90 degree brackets.
 

2014-01-29 16.39.25 2014-01-29 16.41.02 2014-01-30 10.05.01


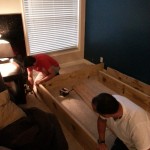
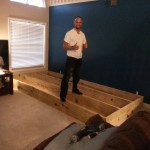
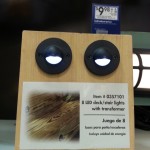
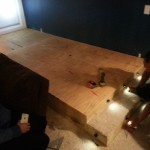
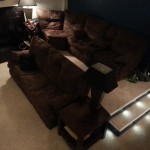
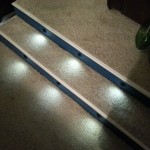
Next up we needed to build the elevated seating platform. This wasn’t to hard to do, in fact we may have went overboard on the wood we used, but I wanted it straight and sturdy, so better safe than sorry. We used 4 12′ 12 x 2 s To make the platform. Then used some plywood for the top and made a simple step up on one side. To make it carpeted we simply cut to carpet out from underneath it and relaid it down on top of the platform, this worked for both the platform and the step. I went ahead and added some nice dock LED lights to the steps to give it that nice theater feel, but also for the use of seeing the step in the dark.

2014-01-30 10.41.08 2014-01-30 10.42.45 2014-01-30 11.59.582014-01-30 12.18.39 2014-01-30 13.52.14 2014-01-30 21.42.06


After moving the couches into place, it started feeling real!

2014-01-31 00.02.29 2014-01-31 00.02.48 2014-01-31 00.04.17


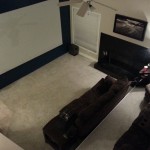
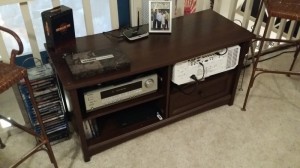
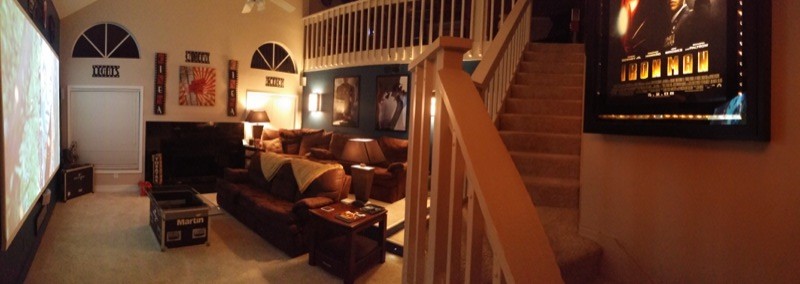
The projector was mounted in the loft to shine down and light the screen. This was a refurb Mitsubishi projector I got on eBay. It was a 5500 Lumen HD projector. This is way bright enough to project a great image even on the brightest time of day outside. The image is always crisp and clear. Luckily for me Mitsubishi was getting out of the projector business and this $5,000 dollar projector only ran me $1,100! Score! I put it inside a little hutch upstairs and it shines through the rails on the loft. This projector had all the bells and whistles with lens shift, zoom, and corner and key stone capabilities which made it hit the screen perfectly! That and all of the rest of my audio and media players were installed nicely upstairs.

20140726_222336

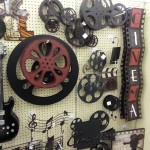
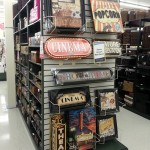
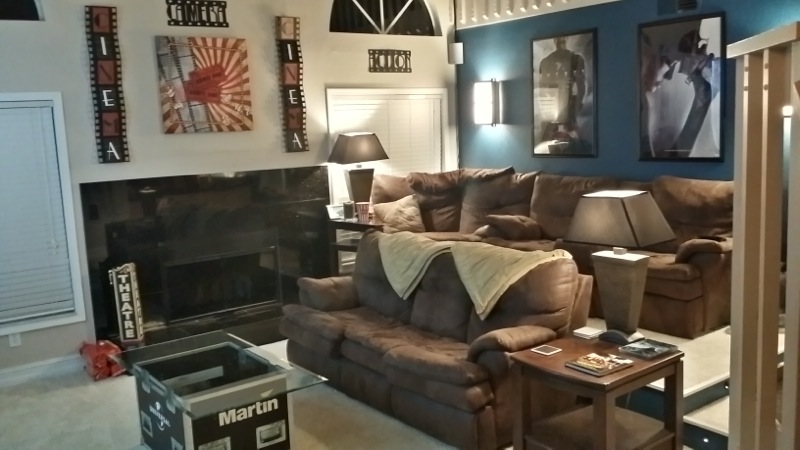
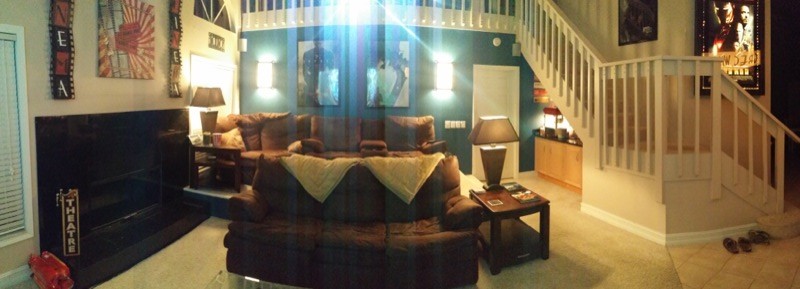
Now onto the decorations of the theater. I wanted it to not look like just a living room, but yet did not want it to look tacky at all. I needed nice wall decorations, coffee table, lights and pictures to all have a movie theater theme while still having some class. Luckily for me Hobby Lobby had all this at 50% the week I was putting this together. They had all kinds of metal decorations and even a couple cool pieces of artwork.

2014-01-30 15.25.29 2014-01-30 15.27.59


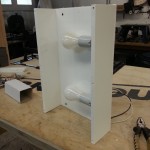
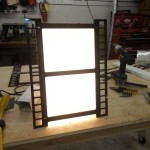
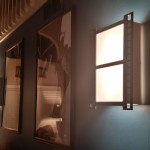
As for lights and a coffee table, I was having a hard time finding anything I liked. So I figured why not build them myself! Heck I have the tools and ability to do it, so why not! First off with the lights mounted to the wall. I really like the way the theater lights project a cool light pattern on the wall, and of course they need to be able to be dimmed. I went to a lamp shop and purchased some broken lamps to pennys on the dollar, all so I could use the hardware inside. I built these lamps out of starboard and acrylic, all laser cut and cnc routed. I made them to resemble a film strip, and the final build quality was amazing, still haven’t found anything like it on the market. You can also see some of the 27×40 theater posters hung in between the lights.

2014-02-03 13.59.38 2014-02-03 14.03.18 20140726_223141_Richtone(HDR)

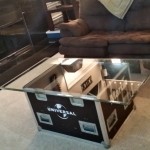
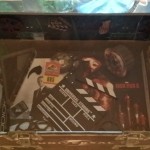
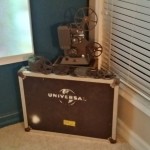
Then onto the coffee table. This was a difficult one, but I had a idea that I wanted to see through. I used to work for a AV company doing production lighting. I really liked the road cases we used to transport the equipment. I thought it would be cool to get ahold of one of these and turn it into the table, using glass as the top, and have movie props and reels inside of it. I wanted it to look like it came off the set of a hollywood movie. Well what do you know, the company I worked for had one laying around that they gave me for, you guessed it, free. I took it with a smile and started the work. I laser cut a universal studios logo stencil out of cardboard and sprayed the logo on a couple of sides. I filled it up with props, removed the top, through a piece of glass I got off craigslist on top of it and was quite impressed it came out as good as it did. I really like the look of it, again not to tacky, but not your typical coffee table. Plus I went ahead and used the top of it as another decoration in the corner with a old 8mm projector!

20140726_223014_Richtone(HDR) 20140726_222958_Richtone(HDR) 20140726_222939_Richtone(HDR)


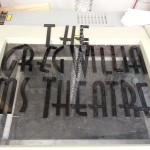
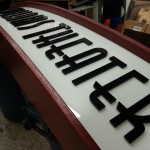
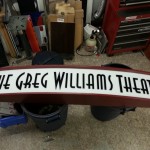
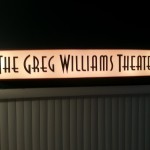
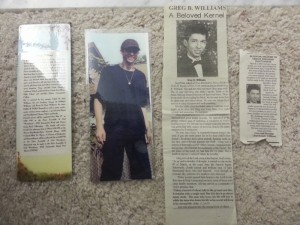
I really needed a good name for this theater was was being born. I spent a lot of time thinking about names, EZ Theater, EdsJunk Theater, Zarick Theater…. all sounded tacky and self centered haha. I wanted it to have more meaning, and thats when the name “Greg Williams Theater” came to be. Greg was one of my closest friends and also my cousin growing up. I remember first watching movies like Gladiator, Saving Private Ryan, Braveheart all with him. This is when i first started watching movies period. Sad to say he passed away about 15 years ago from a seizure and heart problems. It felt only right to dedicate this theater to him. The name sounded unique, classy and has meaning. DONE! Thats it! But how do I display the name… well I thought this next idea was perfect! I made my own small marquee style sign! Again, It pays to have some nice machines to be able to make me things.

This sign was first designed up in adobe illustrator. I use this heavily when making designs for my CNC router and laser cutter. I built it out of nice pine wood, translucent white acrylic and black acrylic. Also I through some light bulbs inside of it to give it a nice low glow.

2014-02-10 22.23.25 2014-02-10 22.23.33 2014-02-10 23.50.01 2014-02-10 23.51.09 2014-02-11 18.11.44 20140726_222912_Richtone(HDR)2014-02-11 23.19.29

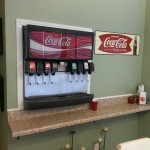
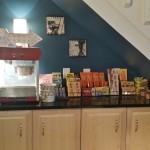
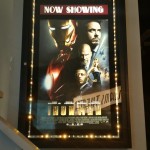
Last but not least, every theater needs Movie posters, popcorn, candy and drinks! Well I can say I also didn’t take any shortcuts here! Candy and Popcorn is easy, thats as simple as buying them, as for displaying them, I got lucky and had a bar already installed under my stairs, the perfect place to display them! Also for drinks, whats better than a actual soda fountain! Well luckily I also already had this done! Click here to see that video and post! So what was left was movie posters. I really wanted a bunch, but again, didn’t want to be tacky. I also wanted one to be backlit, but those are expensive as well. I was going to build a backlit box myself until I stumbled across two poster boxes from a theater going out of business. I bought both of them for 120 dollars not knowing if they will work. Well I was able to put all the pieces together to get one working one, and sold the other broken one for 250! So I made money on that, enough to buy some double sided posters (needed for being backlit), florescent bulbs and LED lights to replace the old blinking lights on the frame. This came out great! I was even able to cut out a “Now Playing” for the top of it with my vinyl plotter! Score! The rest of the posters were installed in nice 24×40″ poster frames I got from Joannes for 50% off.

2014-03-12 21.57.10 20140726_223114_Richtone(HDR) 20140726_223053_Richtone(HDR)


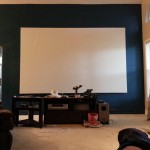
So that is pretty much it! Just some finishing touches with decorations and that I already had a arcade in my loft (MAME Machine, Pinball and Air Hockey) the theater was complete! Please take a look at these final photos, and the video above, and comment below! Let me know what you think! Thanks for reading!


20140726_223040_Richtone(HDR) 20140726_223232 20140726_223313 20140726_222912_Richtone(HDR)