Here is one of my latest projects I have done in the last few months. Its more of a bigger home project I tackled with lots of little projects involved. I want to do my best to give you a overview of everything with out getting into to much crazy detail, but enough to keep you interested. A little history of this project, I have always wanted a home movie theater with projection screen, elevated seating ext. In fact when I build my next home, I will have a room specifically built for this purpose. In this case, I purchased my house about 5 years ago and have been saying I wanted to turn my living room into a theater since the day I bought it, so one day, I sat down and figured it all out!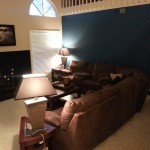
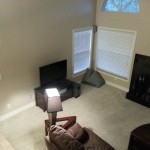
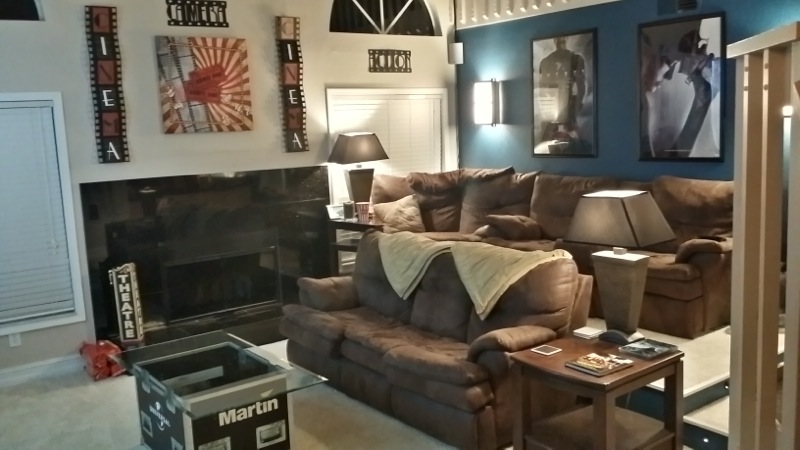
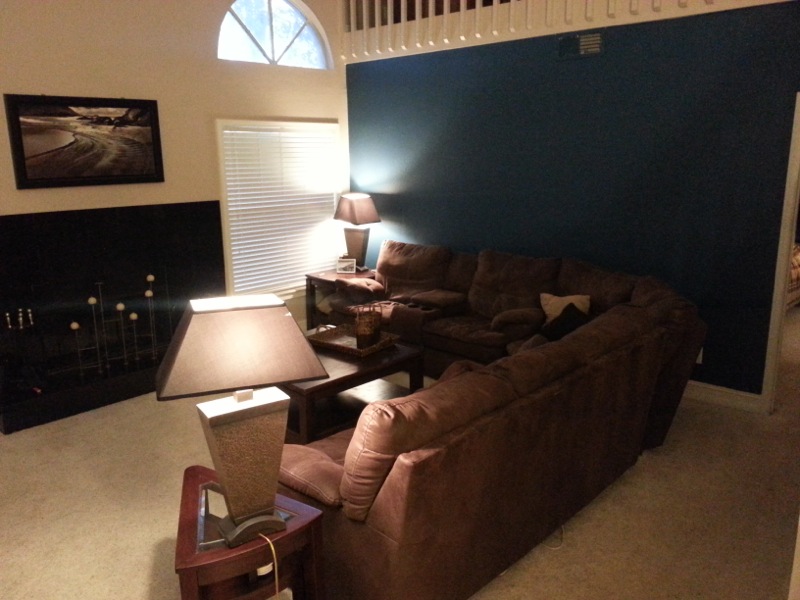
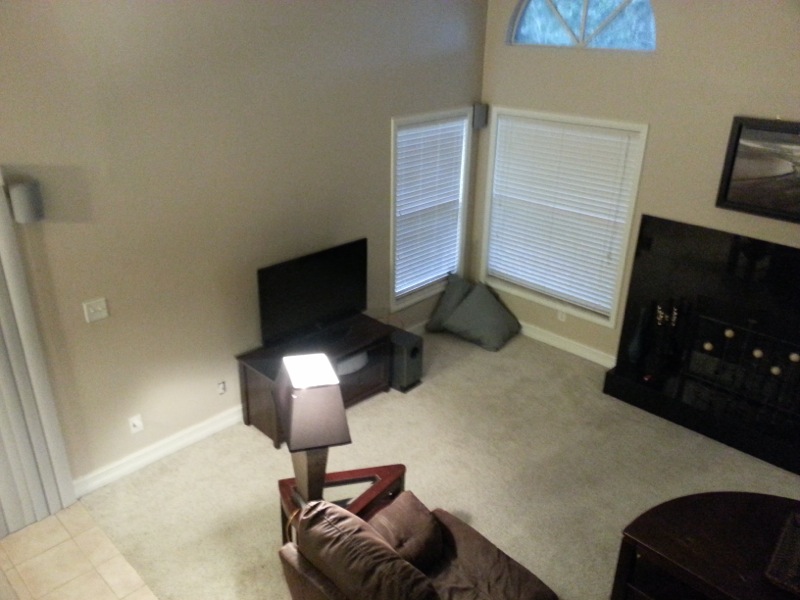
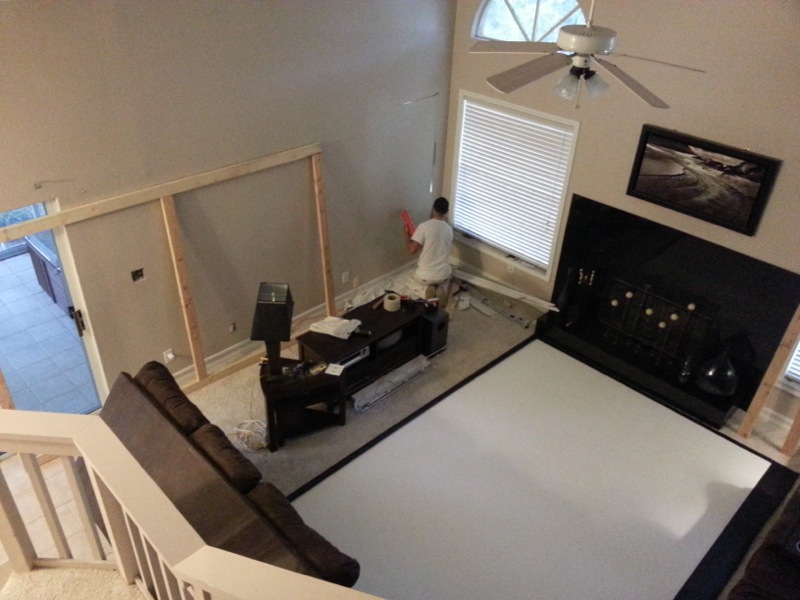
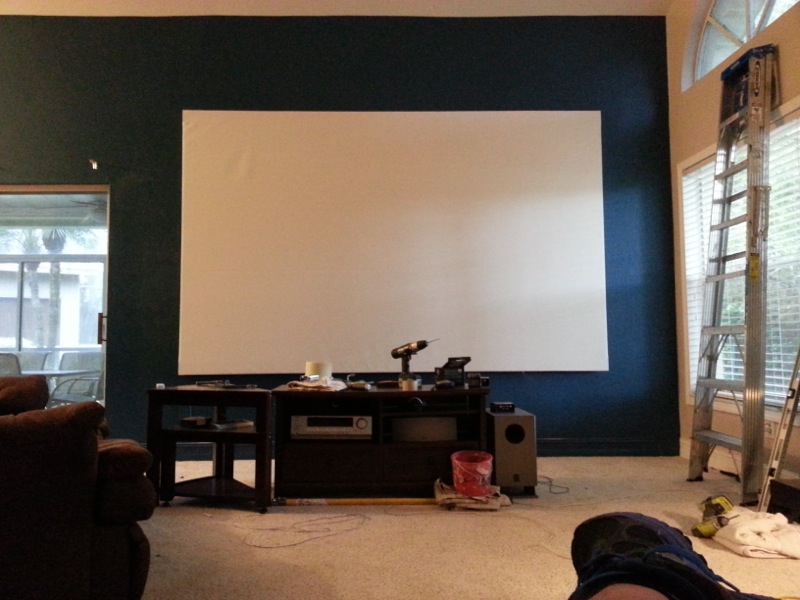
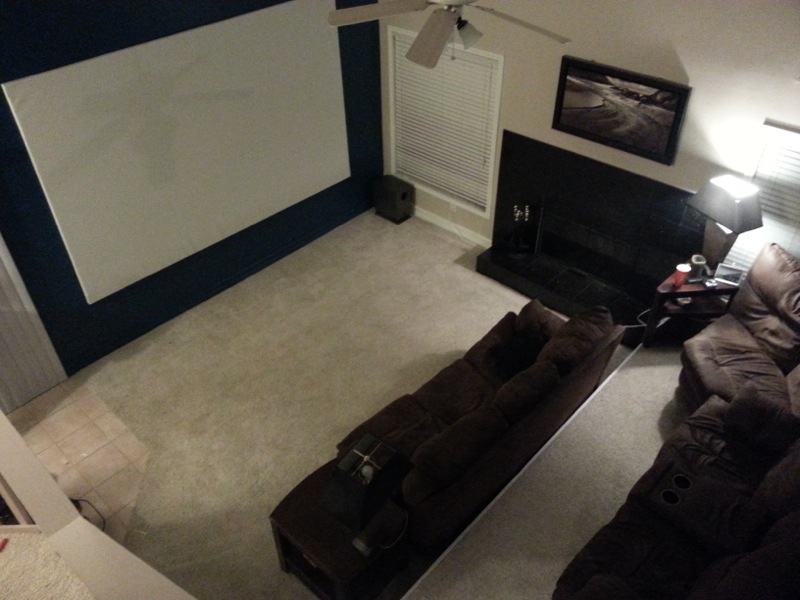
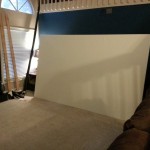
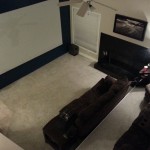
As you can see my living room wasn’t much to look at. That was only a 42″ Vizio LCD TV with a couch. Luckily for me, when I purchased the couch 5 years ago, I knew it was going to eventually be in a theater, So I bought one that had the recliner and cup holder setup. Very cool couch and pretty comfortable I must say! But yeah, not much to look at. The screen I planned on using was quite big, about 12′ wide, just enough to fit on the wall with speakers on either side of it, so clearly that window next to the TV had to go… So the drywall work and screen framing began!
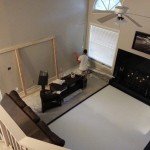
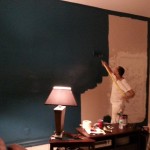
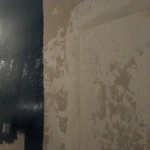
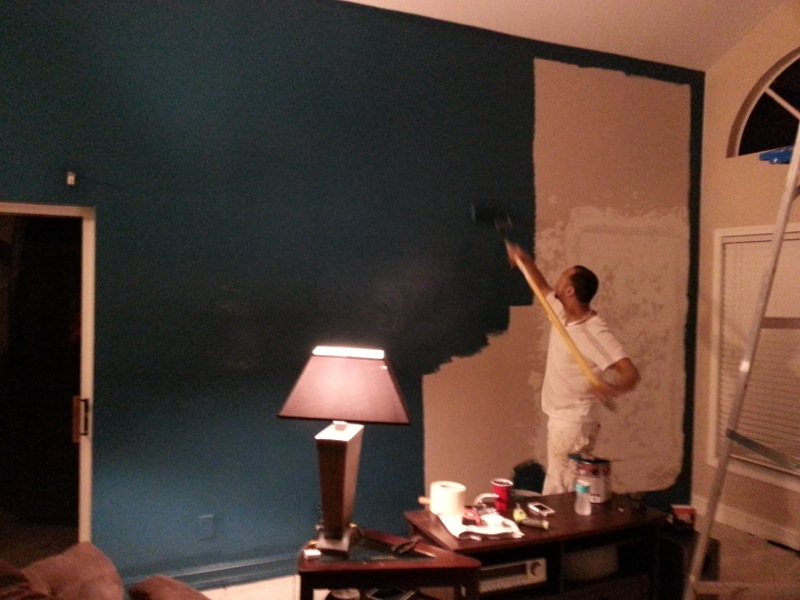
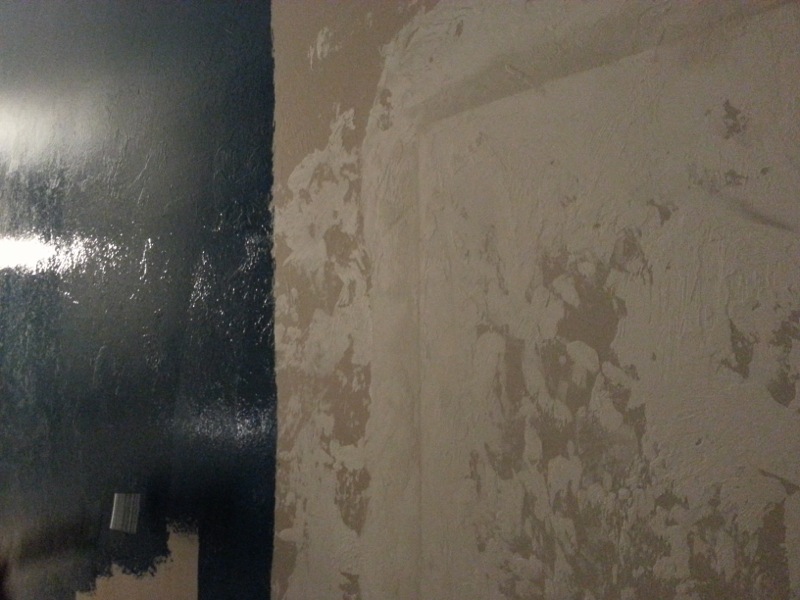
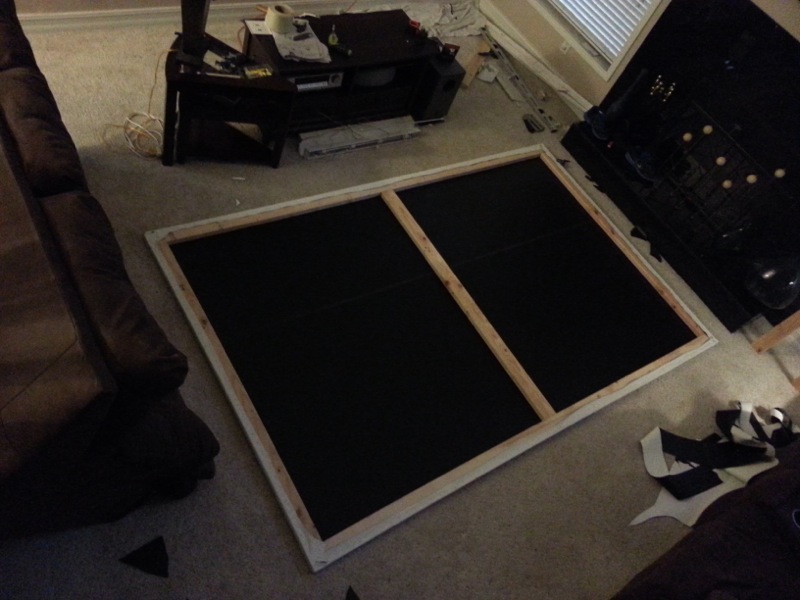
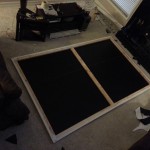
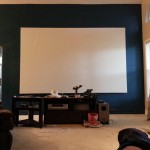
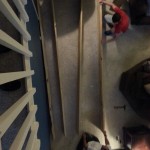
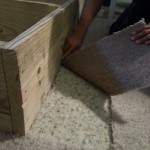
As you can see in these three photos, we went ahead and covered up the window, added the texture to match the rest of the wall and you can see the beginnings of the frame built for the screen. Now for the screen… There is a few way to go about this, one you can buy expensive screen paint to paint on the wall.. its very pricey, or you can use a matte white paint. Problem with these two ideas is that if you painting onto a wall with texture, it will look bad. You can also buy pre-made screens, but these usually come in certain sizes and you need to hope it will fix your application the way you want. What I went for was using screen material wrapped around a wood frame. What I like about this approach is that the screen almost looks like canvas art on the wall opposed to just a painted white rectangle. Also the benefit here was I had a used electric roll down screen that the screen material was destroyed, but only on the bottom 2 inches. And since it was a 4×3 screen, I didn’t need the bottom, plus I got it for free! Score! Here is photos of the framing work done on the screen. It was mounted with 90 degree brackets.
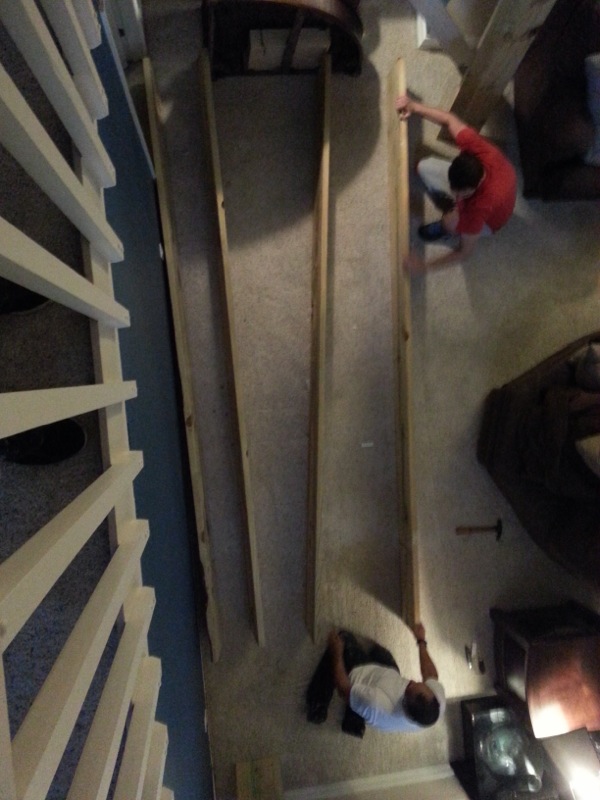
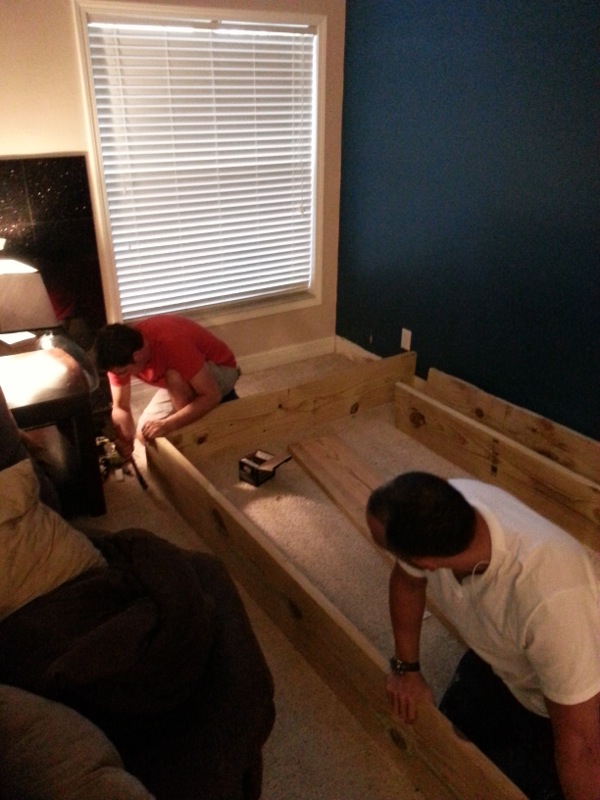
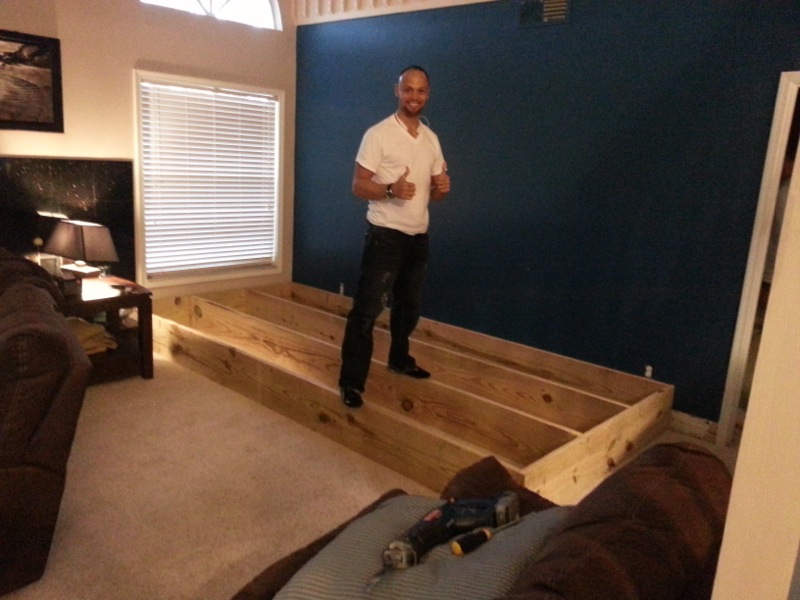
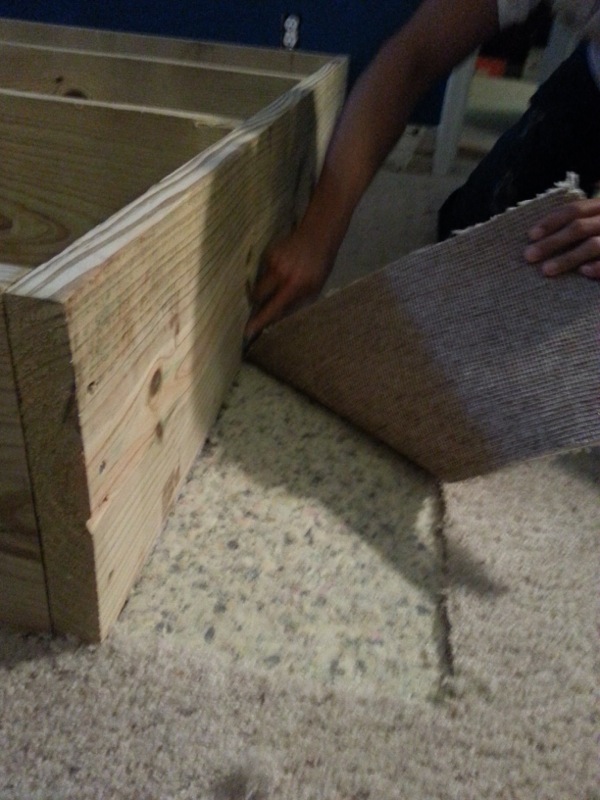
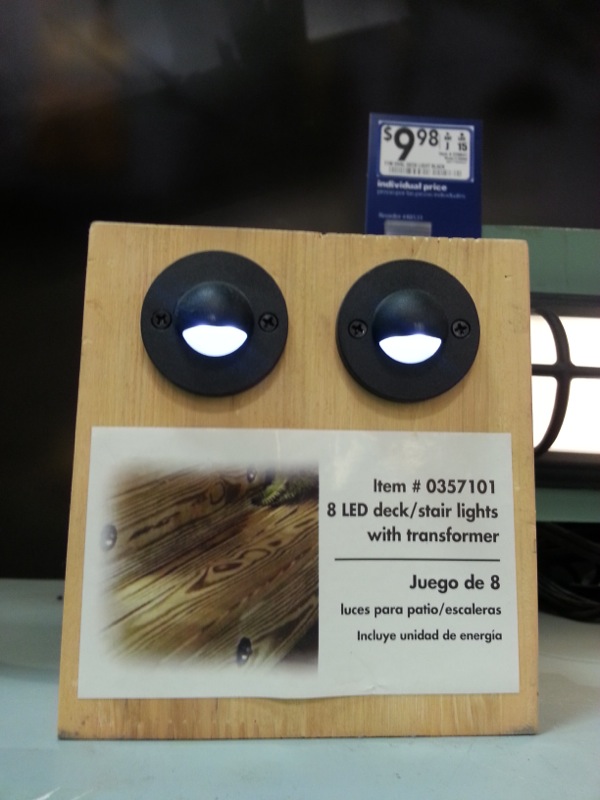
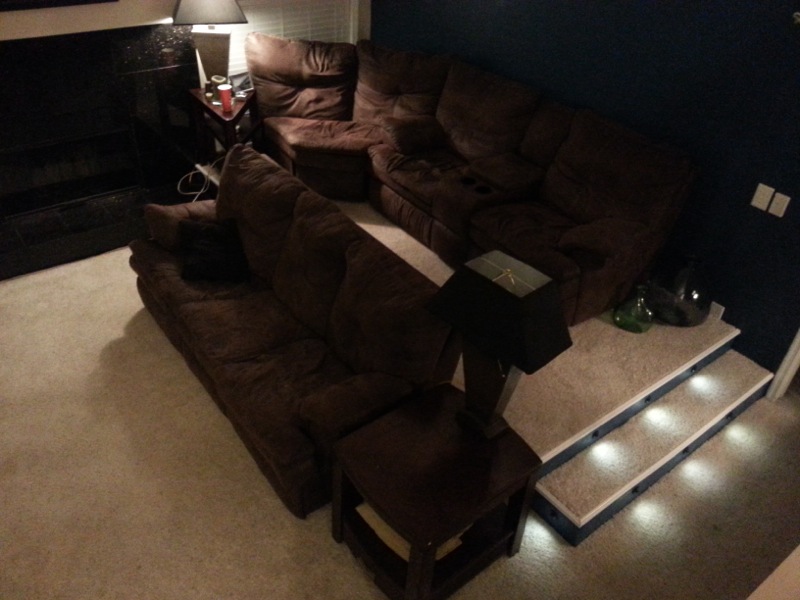
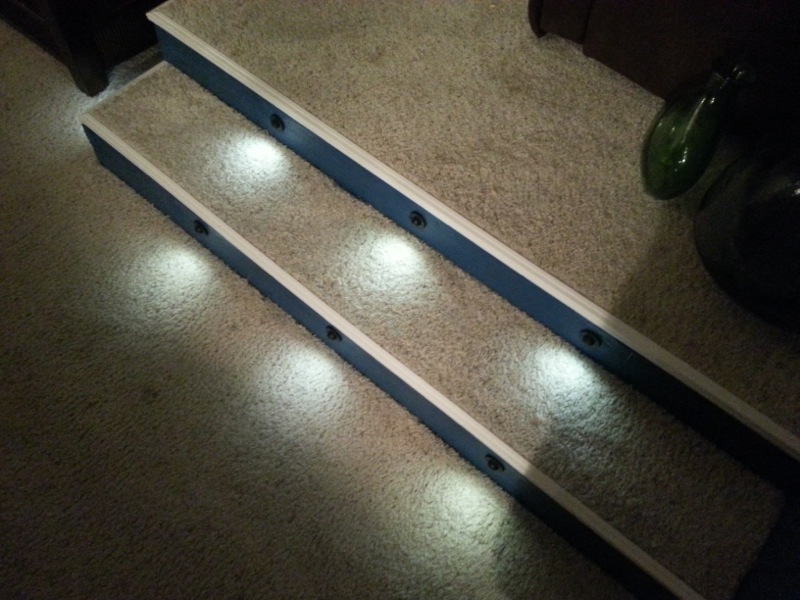
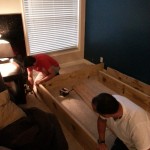
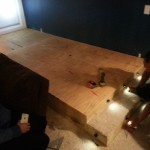
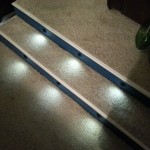
Next up we needed to build the elevated seating platform. This wasn’t to hard to do, in fact we may have went overboard on the wood we used, but I wanted it straight and sturdy, so better safe than sorry. We used 4 12′ 12 x 2 s To make the platform. Then used some plywood for the top and made a simple step up on one side. To make it carpeted we simply cut to carpet out from underneath it and relaid it down on top of the platform, this worked for both the platform and the step. I went ahead and added some nice dock LED lights to the steps to give it that nice theater feel, but also for the use of seeing the step in the dark.

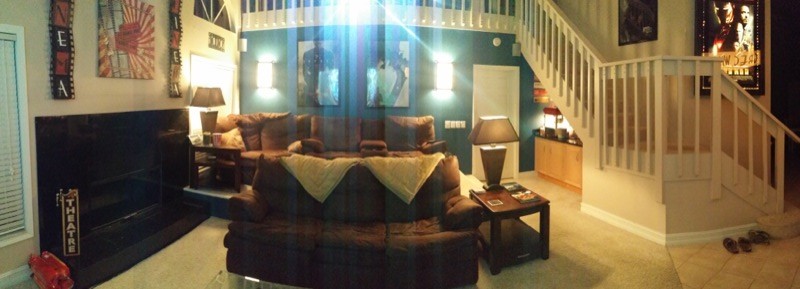
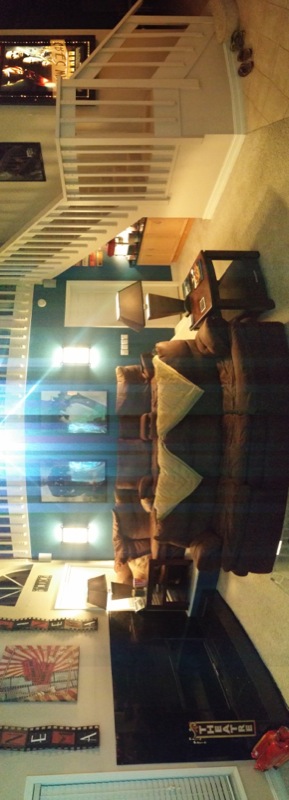
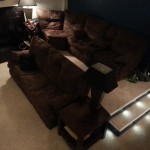
After moving the couches into place, it started feeling real!
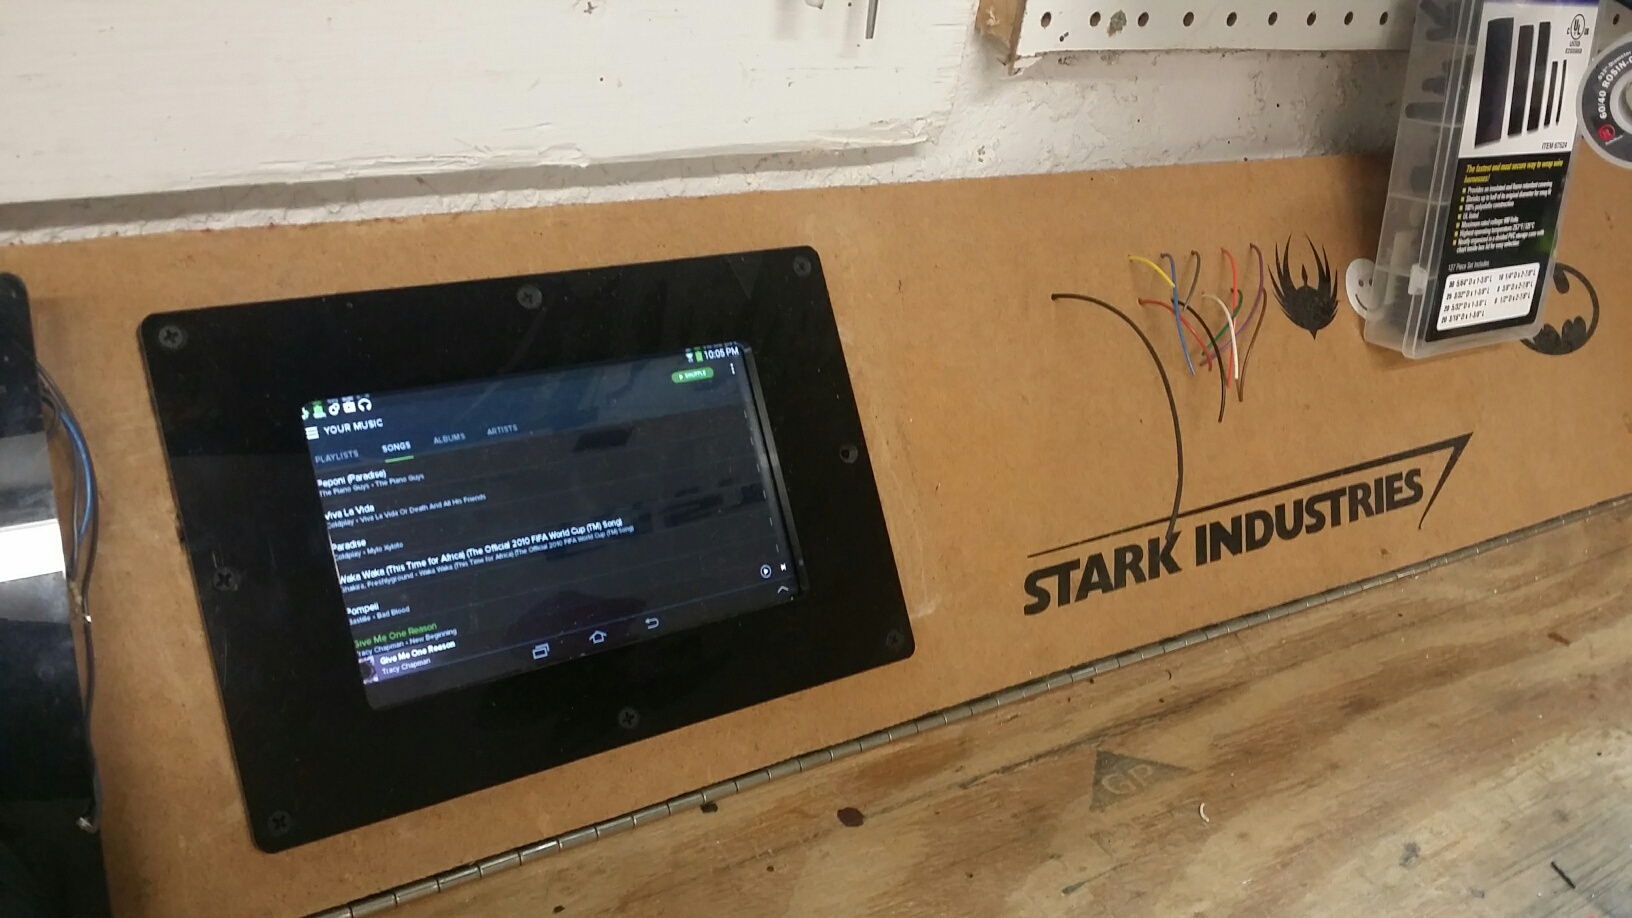
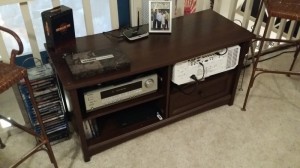
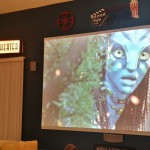
The projector was mounted in the loft to shine down and light the screen. This was a refurb Mitsubishi projector I got on eBay. It was a 5500 Lumen HD projector. This is way bright enough to project a great image even on the brightest time of day outside. The image is always crisp and clear. Luckily for me Mitsubishi was getting out of the projector business and this $5,000 dollar projector only ran me $1,100! Score! I put it inside a little hutch upstairs and it shines through the rails on the loft. This projector had all the bells and whistles with lens shift, zoom, and corner and key stone capabilities which made it hit the screen perfectly! That and all of the rest of my audio and media players were installed nicely upstairs.
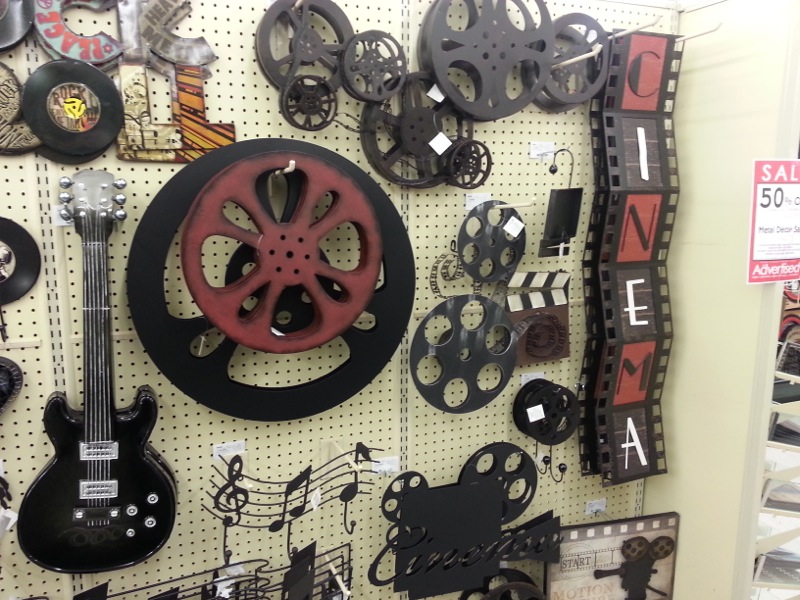
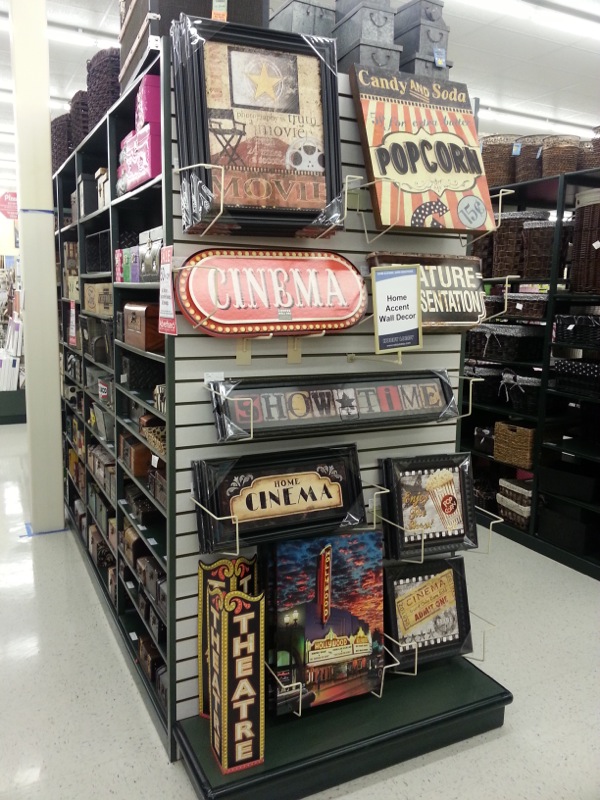
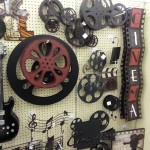
Now onto the decorations of the theater. I wanted it to not look like just a living room, but yet did not want it to look tacky at all. I needed nice wall decorations, coffee table, lights and pictures to all have a movie theater theme while still having some class. Luckily for me Hobby Lobby had all this at 50% the week I was putting this together. They had all kinds of metal decorations and even a couple cool pieces of artwork.
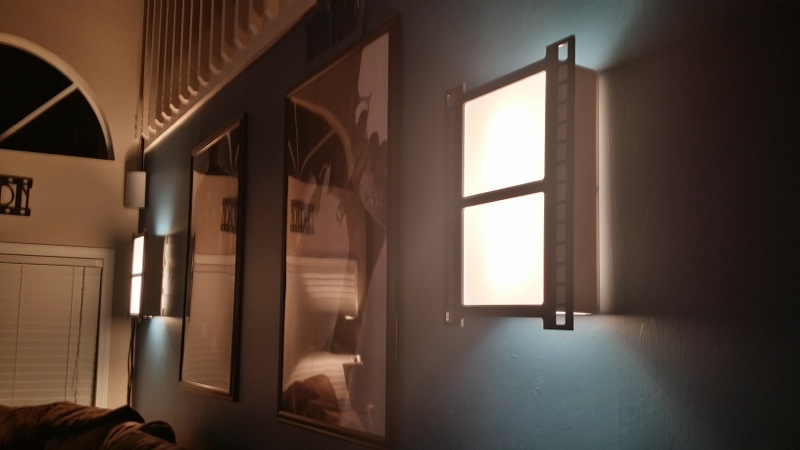
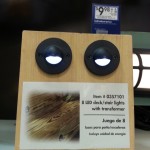
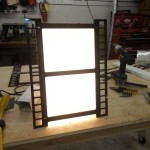
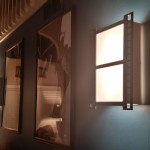
As for lights and a coffee table, I was having a hard time finding anything I liked. So I figured why not build them myself! Heck I have the tools and ability to do it, so why not! First off with the lights mounted to the wall. I really like the way the theater lights project a cool light pattern on the wall, and of course they need to be able to be dimmed. I went to a lamp shop and purchased some broken lamps to pennys on the dollar, all so I could use the hardware inside. I built these lamps out of starboard and acrylic, all laser cut and cnc routed. I made them to resemble a film strip, and the final build quality was amazing, still haven’t found anything like it on the market. You can also see some of the 27×40 theater posters hung in between the lights.

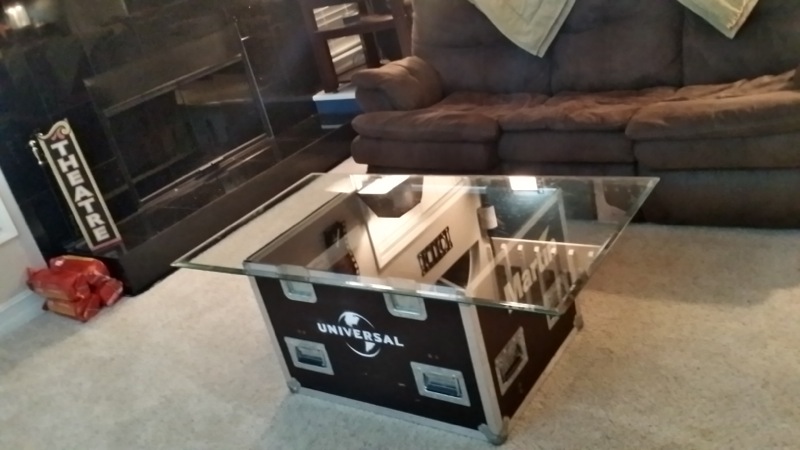
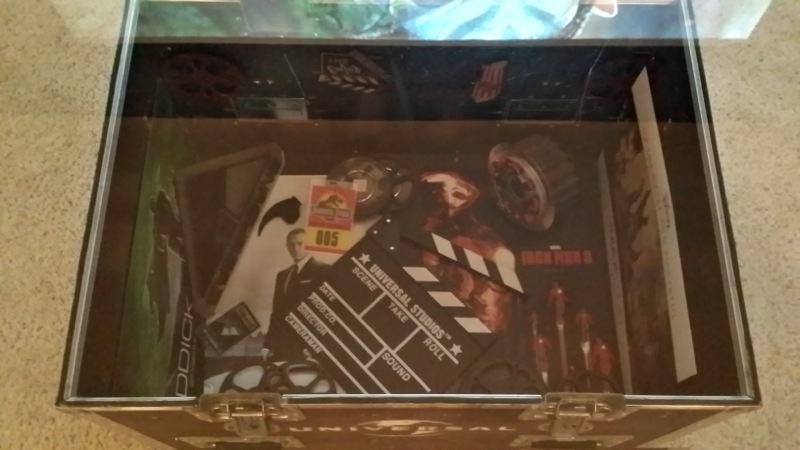
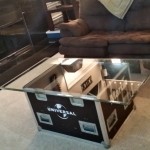
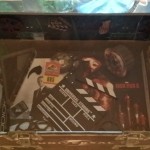
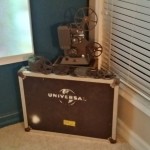
Then onto the coffee table. This was a difficult one, but I had a idea that I wanted to see through. I used to work for a AV company doing production lighting. I really liked the road cases we used to transport the equipment. I thought it would be cool to get ahold of one of these and turn it into the table, using glass as the top, and have movie props and reels inside of it. I wanted it to look like it came off the set of a hollywood movie. Well what do you know, the company I worked for had one laying around that they gave me for, you guessed it, free. I took it with a smile and started the work. I laser cut a universal studios logo stencil out of cardboard and sprayed the logo on a couple of sides. I filled it up with props, removed the top, through a piece of glass I got off craigslist on top of it and was quite impressed it came out as good as it did. I really like the look of it, again not to tacky, but not your typical coffee table. Plus I went ahead and used the top of it as another decoration in the corner with a old 8mm projector!
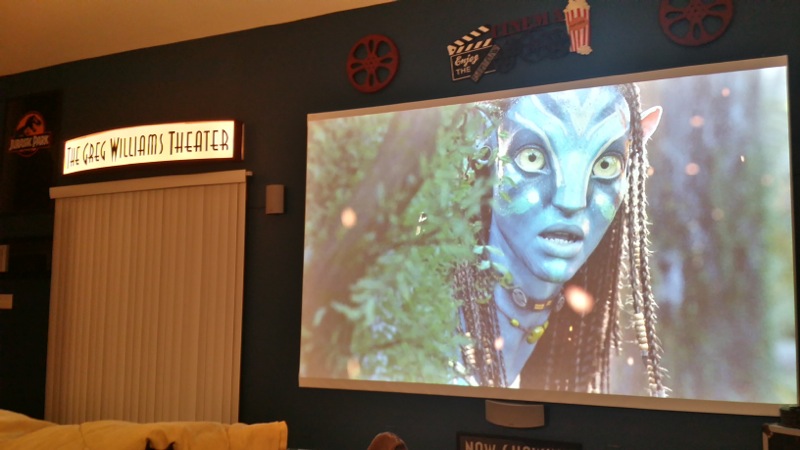
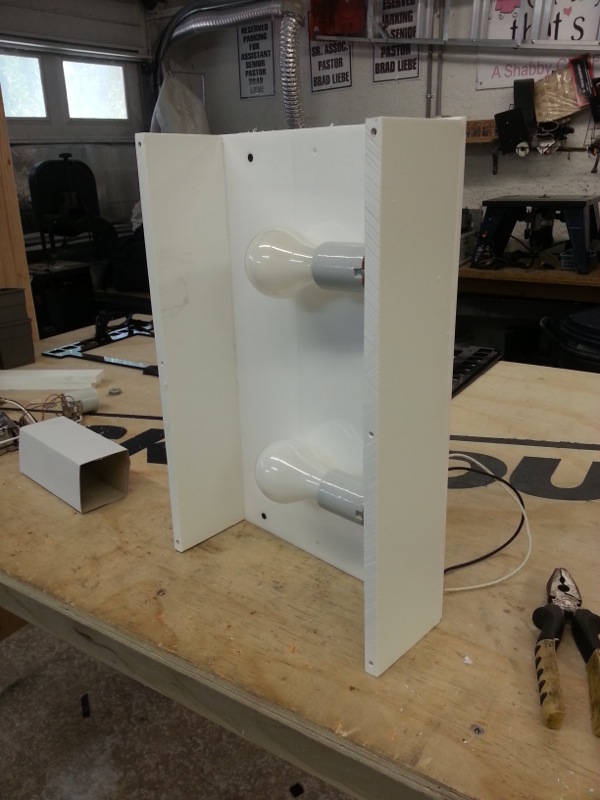
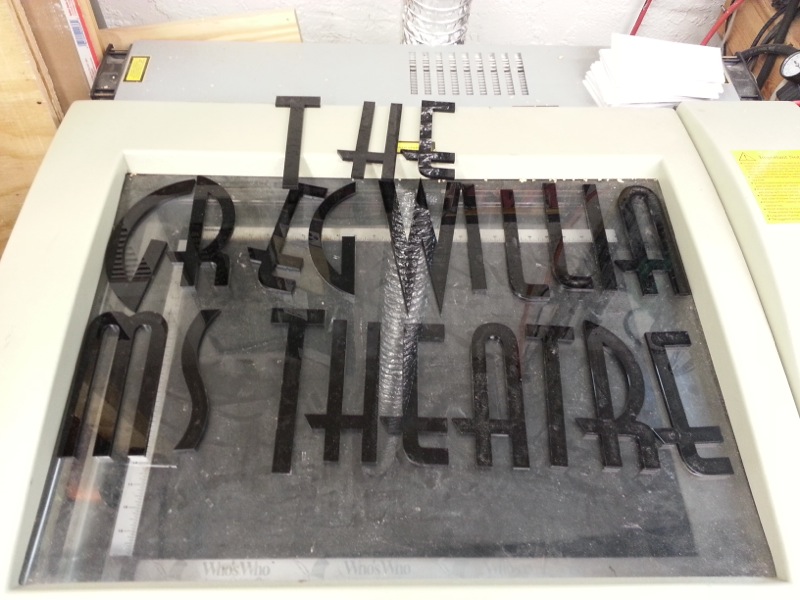
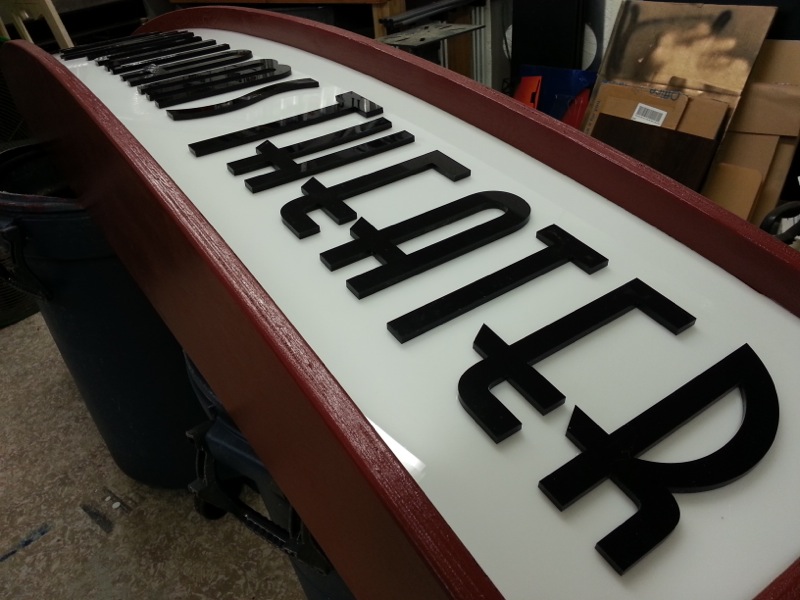
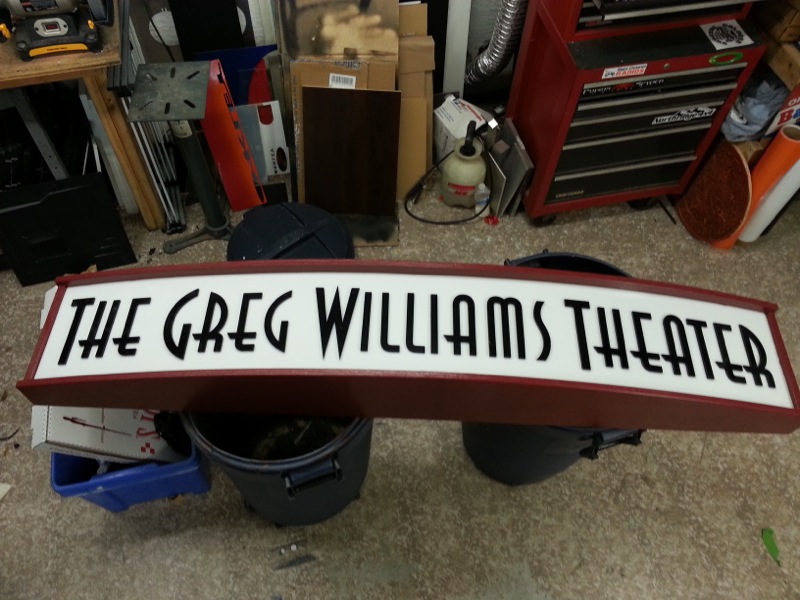
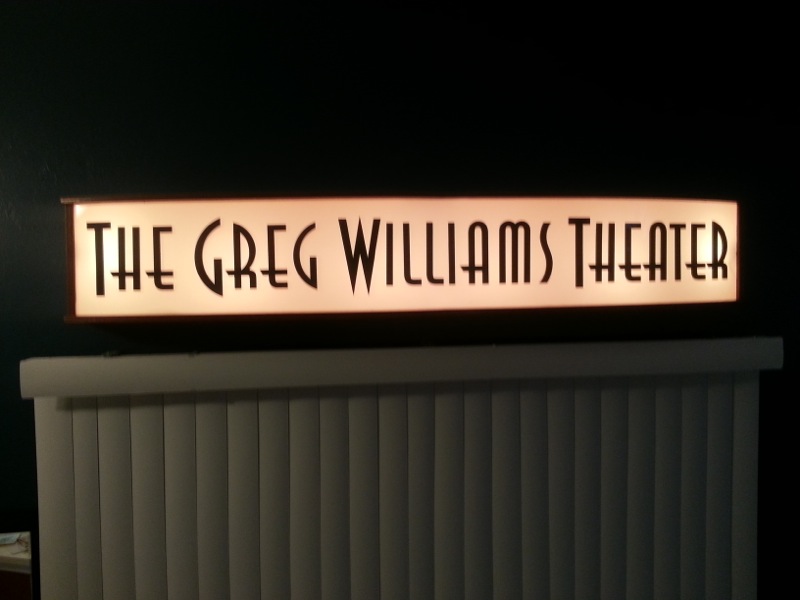
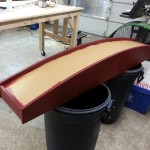
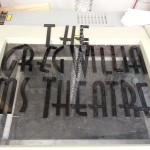
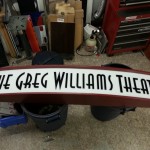
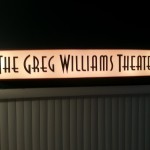
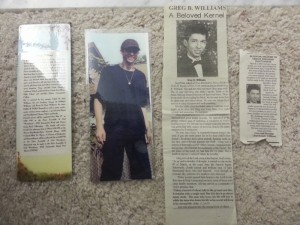
I really needed a good name for this theater was was being born. I spent a lot of time thinking about names, EZ Theater, EdsJunk Theater, Zarick Theater…. all sounded tacky and self centered haha. I wanted it to have more meaning, and thats when the name “Greg Williams Theater” came to be. Greg was one of my closest friends and also my cousin growing up. I remember first watching movies like Gladiator, Saving Private Ryan, Braveheart all with him. This is when i first started watching movies period. Sad to say he passed away about 15 years ago from a seizure and heart problems. It felt only right to dedicate this theater to him. The name sounded unique, classy and has meaning. DONE! Thats it! But how do I display the name… well I thought this next idea was perfect! I made my own small marquee style sign! Again, It pays to have some nice machines to be able to make me things.
This sign was first designed up in adobe illustrator. I use this heavily when making designs for my CNC router and laser cutter. I built it out of nice pine wood, translucent white acrylic and black acrylic. Also I through some light bulbs inside of it to give it a nice low glow.

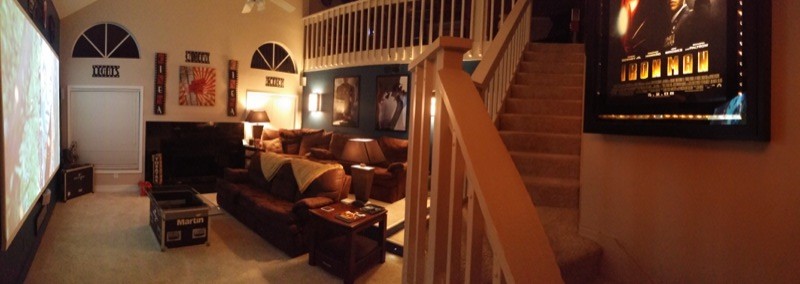
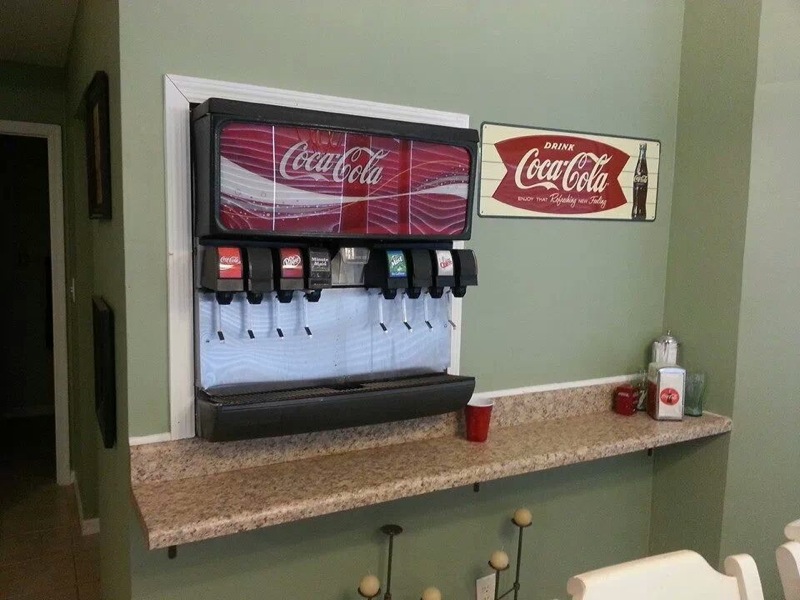
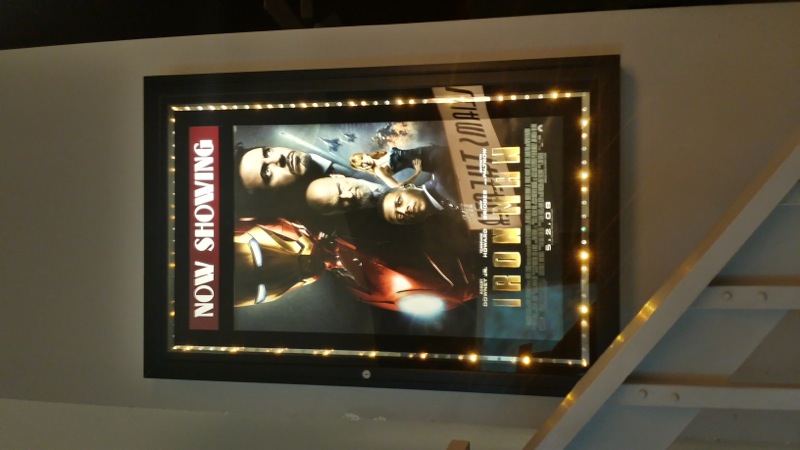
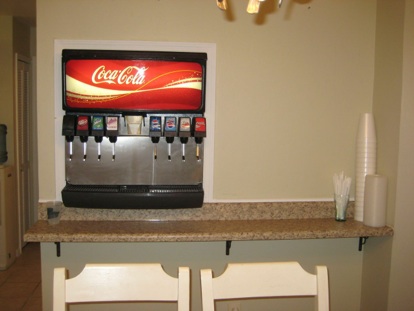
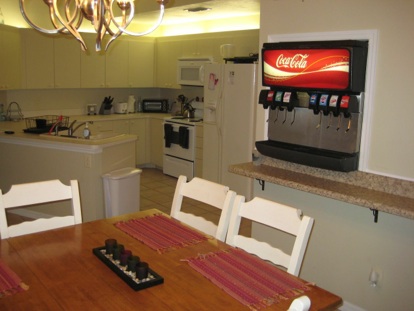
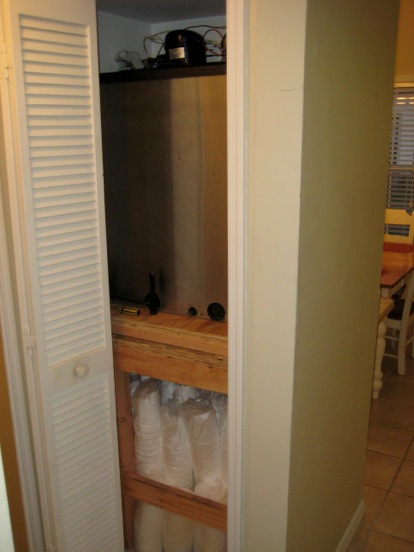
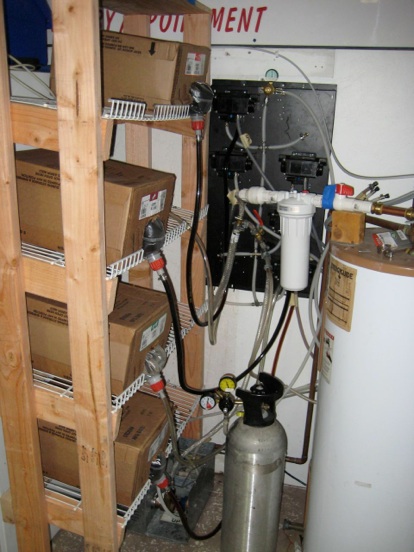
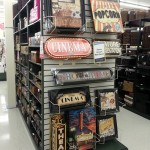
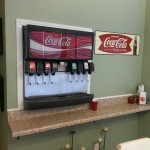
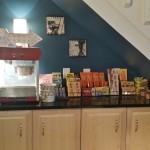
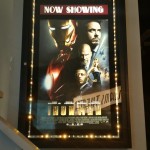
Last but not least, every theater needs Movie posters, popcorn, candy and drinks! Well I can say I also didn’t take any shortcuts here! Candy and Popcorn is easy, thats as simple as buying them, as for displaying them, I got lucky and had a bar already installed under my stairs, the perfect place to display them! Also for drinks, whats better than a actual soda fountain! Well luckily I also already had this done! Click here to see that video and post! So what was left was movie posters. I really wanted a bunch, but again, didn’t want to be tacky. I also wanted one to be backlit, but those are expensive as well. I was going to build a backlit box myself until I stumbled across two poster boxes from a theater going out of business. I bought both of them for 120 dollars not knowing if they will work. Well I was able to put all the pieces together to get one working one, and sold the other broken one for 250! So I made money on that, enough to buy some double sided posters (needed for being backlit), florescent bulbs and LED lights to replace the old blinking lights on the frame. This came out great! I was even able to cut out a “Now Playing” for the top of it with my vinyl plotter! Score! The rest of the posters were installed in nice 24×40″ poster frames I got from Joannes for 50% off.
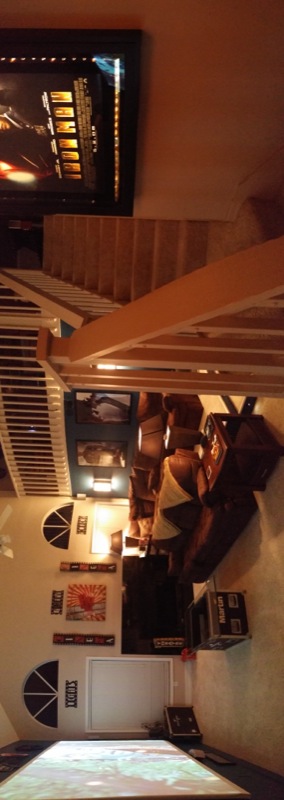
So that is pretty much it! Just some finishing touches with decorations and that I already had a arcade in my loft (MAME Machine, Pinball and Air Hockey) the theater was complete! Please take a look at these final photos, and the video above, and comment below! Let me know what you think! Thanks for reading!