

Weebo Assembly Pt 3
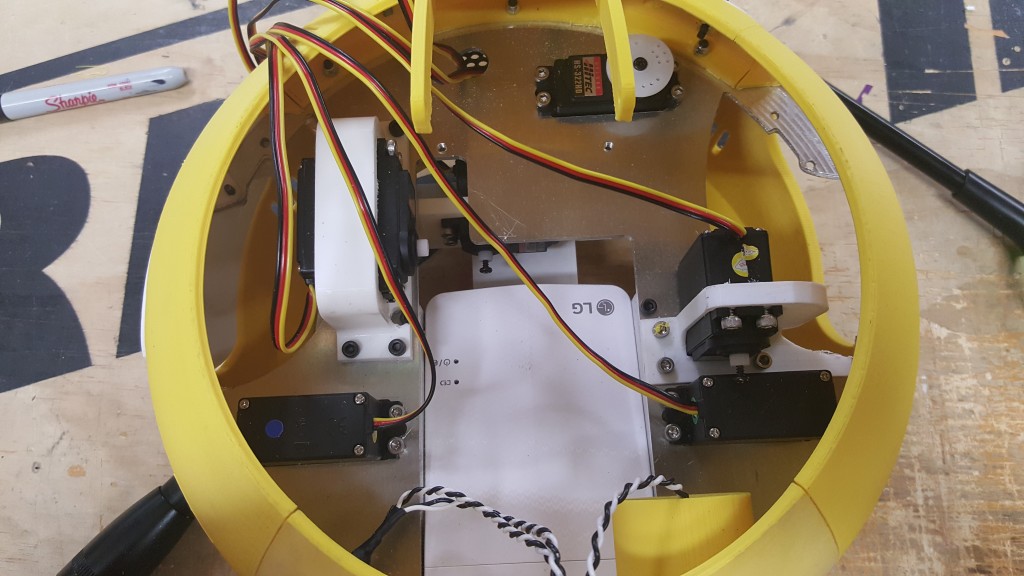
You can see in these two photos below how I used the servo linkages from servocity to attach the ears to the servos. It takes some playing around to find the correct length you need to get the ears to open and close properly.

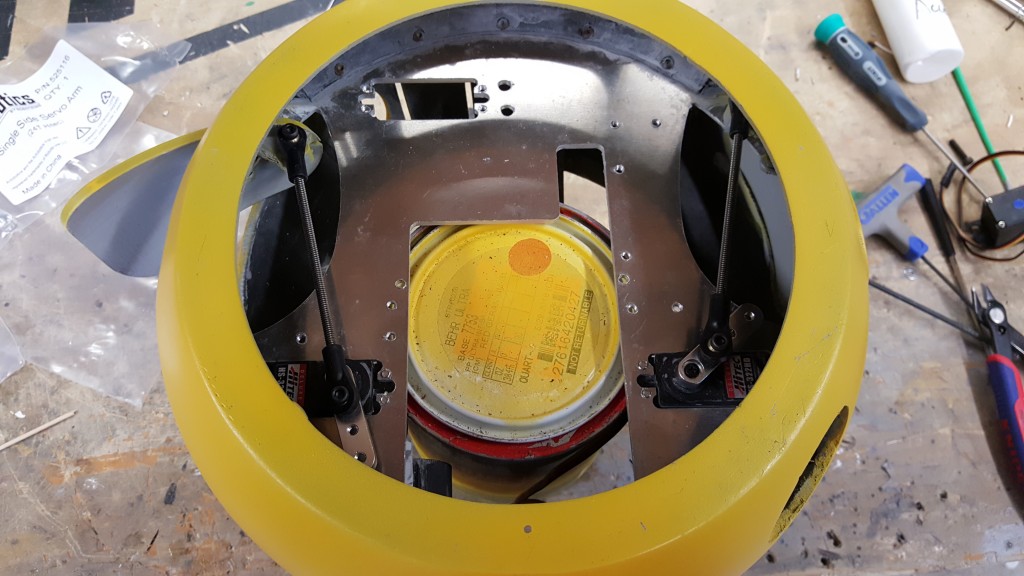
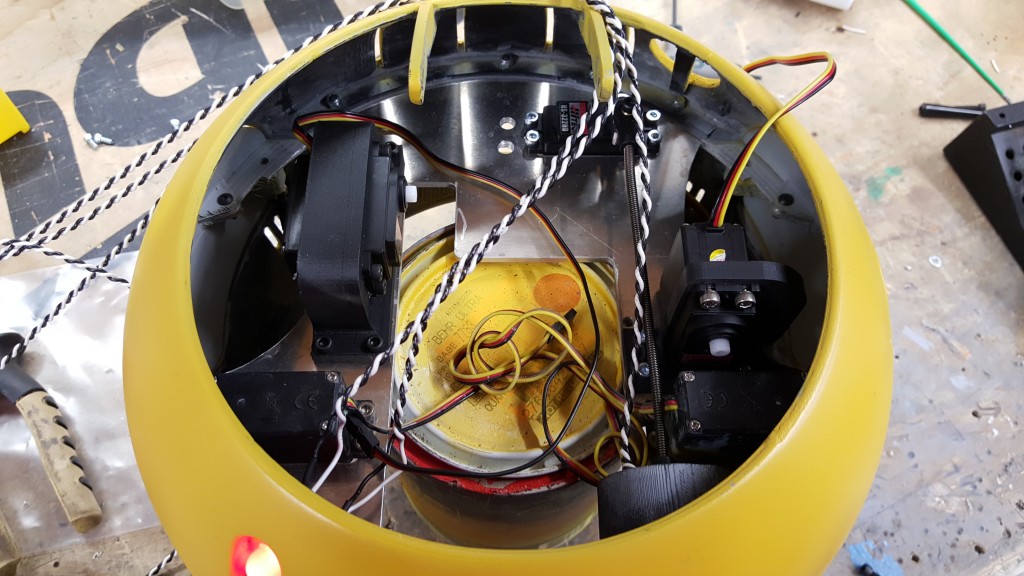
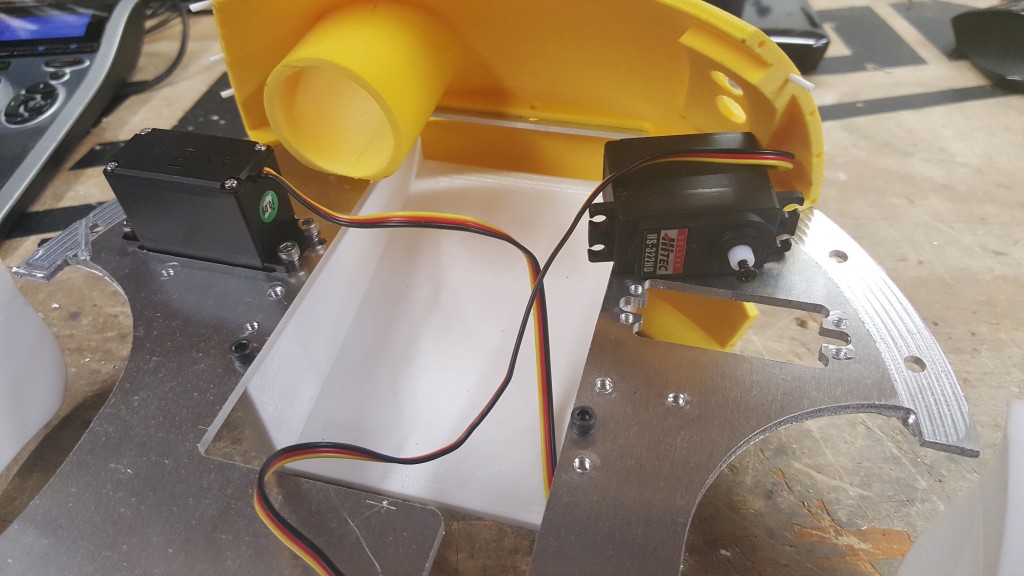
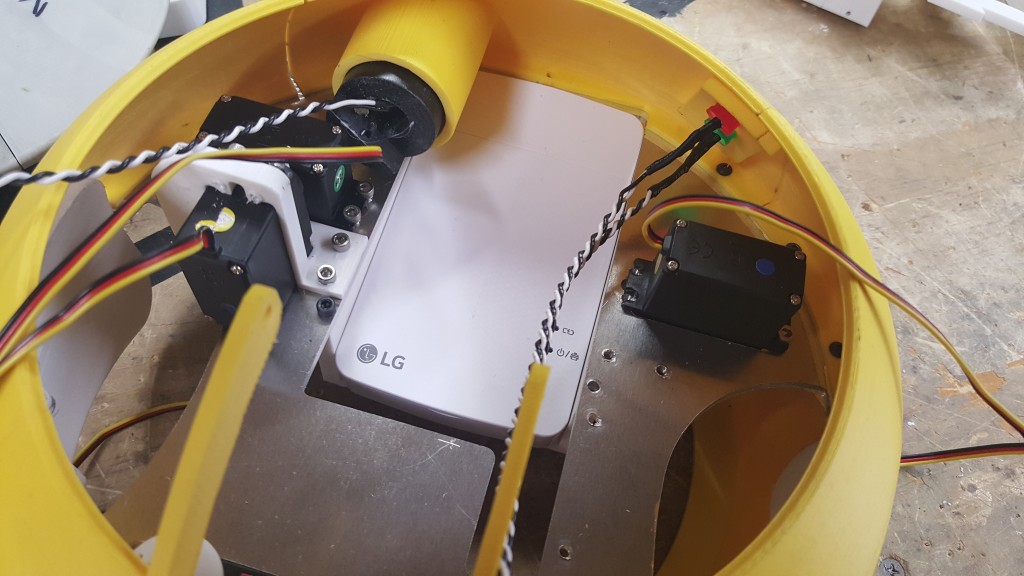
Now this image may look confusing. But you can see the other 3 servos mounted in here. They are going to be for the Lid, the Eye and the Flash. The Eye servo is mounted to the back directly to the frame. The other two use 3D printed brackets. The LEDs are also in place with their wires ran.
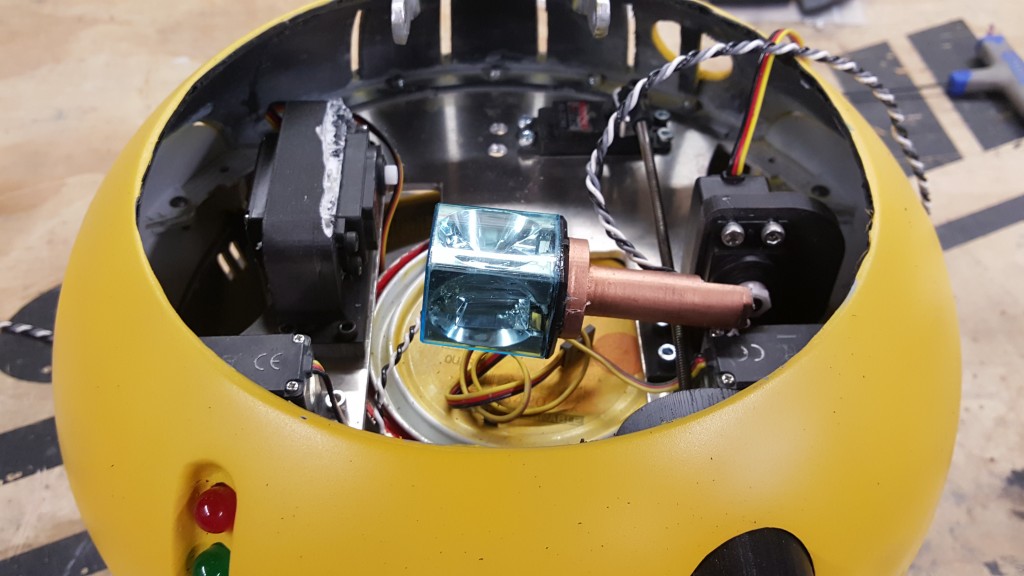
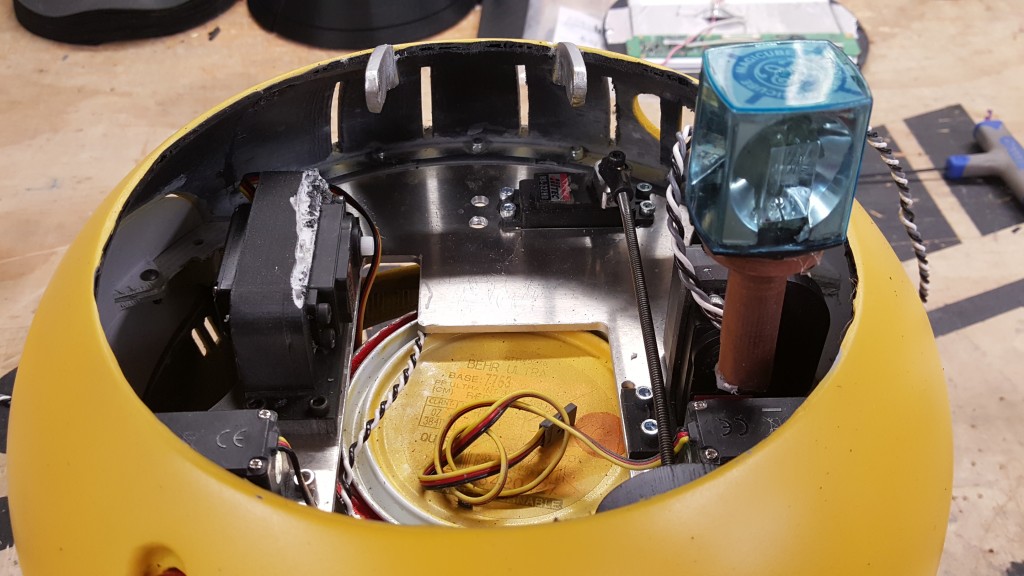
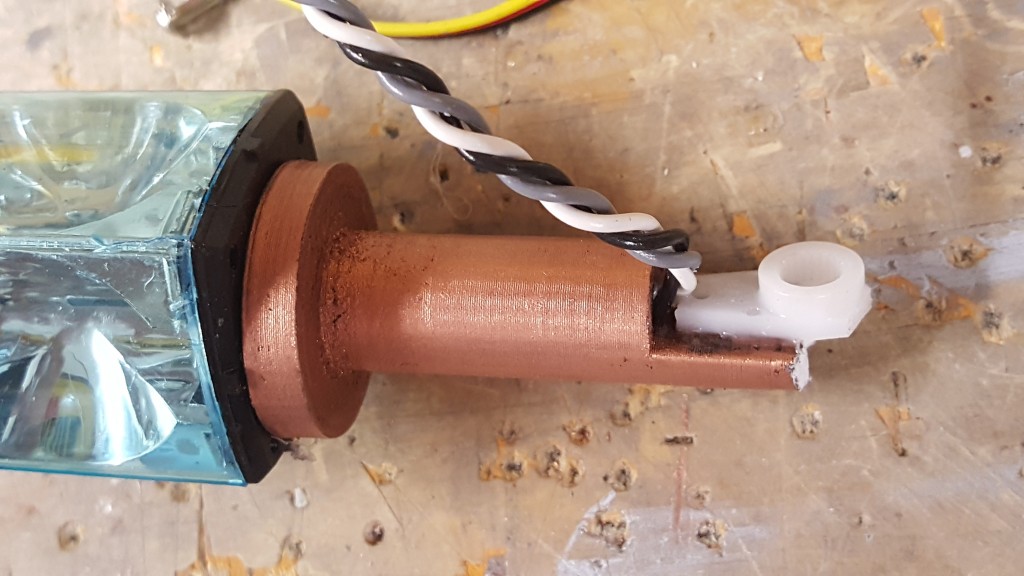
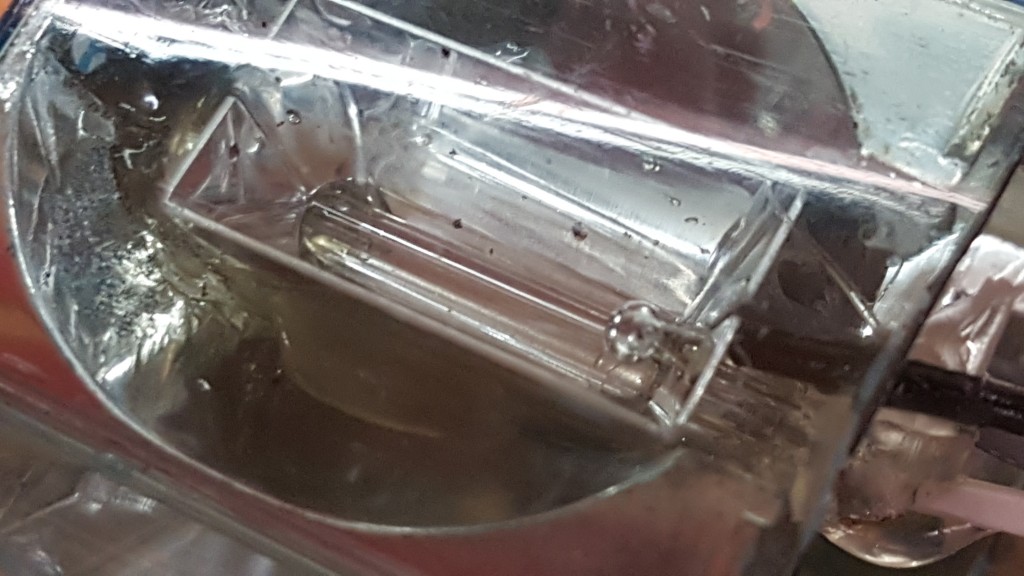
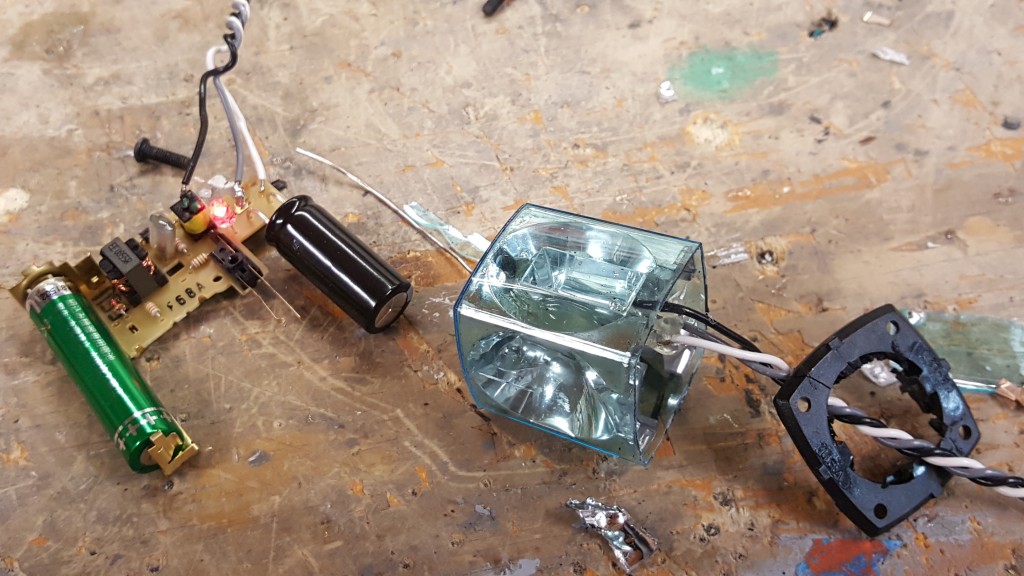
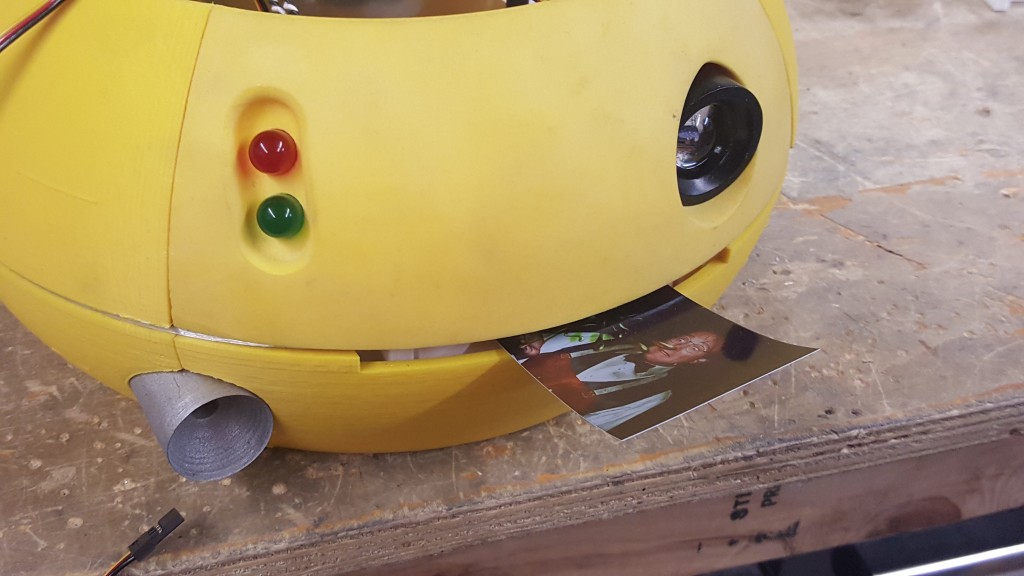
Getting the flash working took me a little bit of modding (which I guess is normal by now!) In the movie Weebo had a GE Magic Cube mounted to a copper pipe. These flashes have been long discontinued and also are a one time use flash (4 technically, one on each side of the cube) But for my Weebo I wanted her to be able to flash whenever I wanted. So I purchased magic cubes, removed the flash bulbs and added a newer style neon flash tube from a cheap disposable camera (which funny enough are on there way to being discontinued!!) Grab some Magic Cubes and disposable from eBay. Each one may be different, but mine looked like this when I was done.
Now for the printer, yes this Weebo PRINTS photos! I used a LG Pocket Printer that they sell (AMAZON LINK ). It uses Bluetooth to print images. But it is small! Exactly what I needed! The Printer mount part attached from the bottom onto the aluminum frame. In this position the printer itself stays in place and spits the photo right out Weebos Mouth. You will need to figure out your Printers Bluetooth ID and replace it in the Raspberry Pi Code so it sends to your printer.
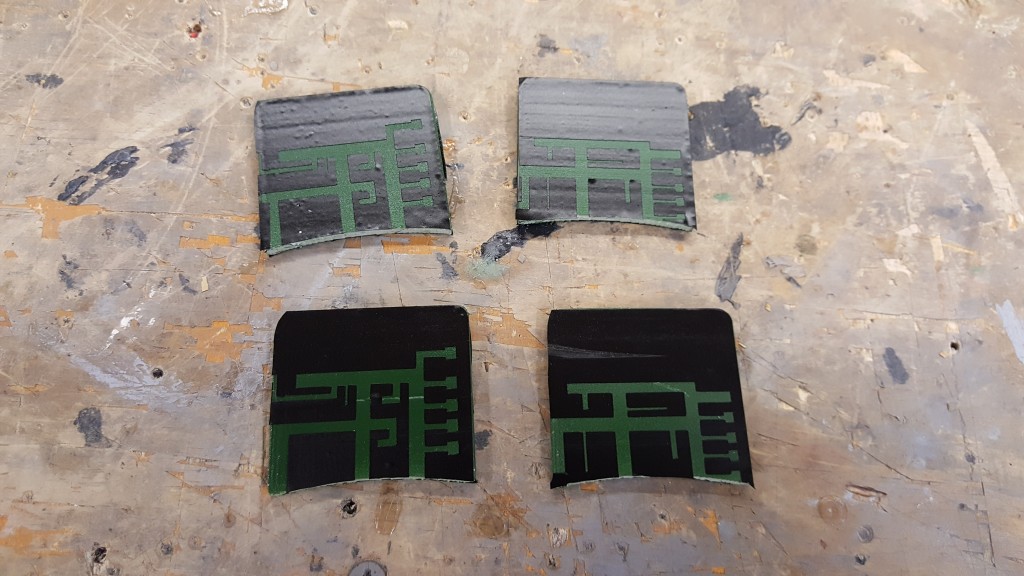
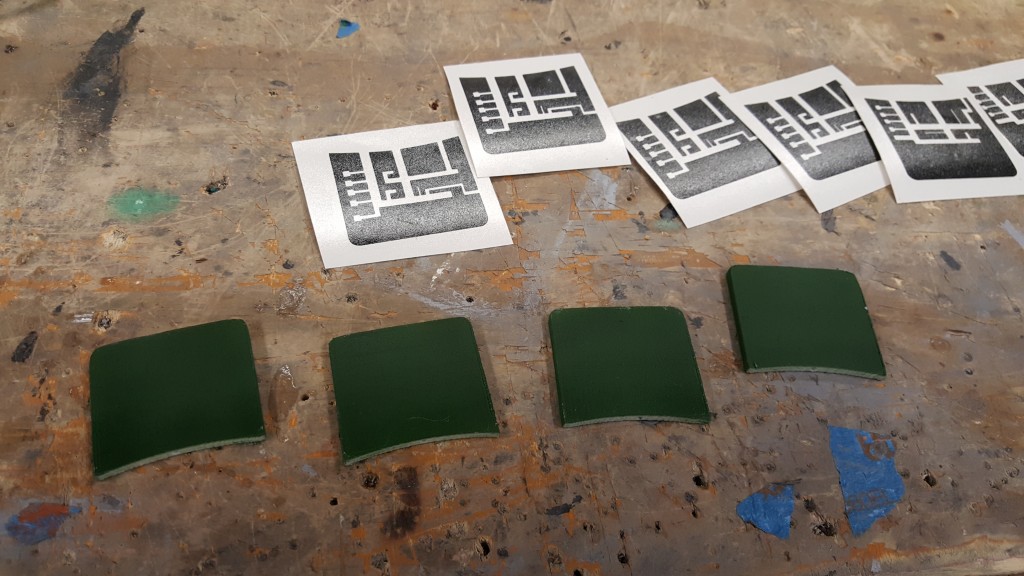
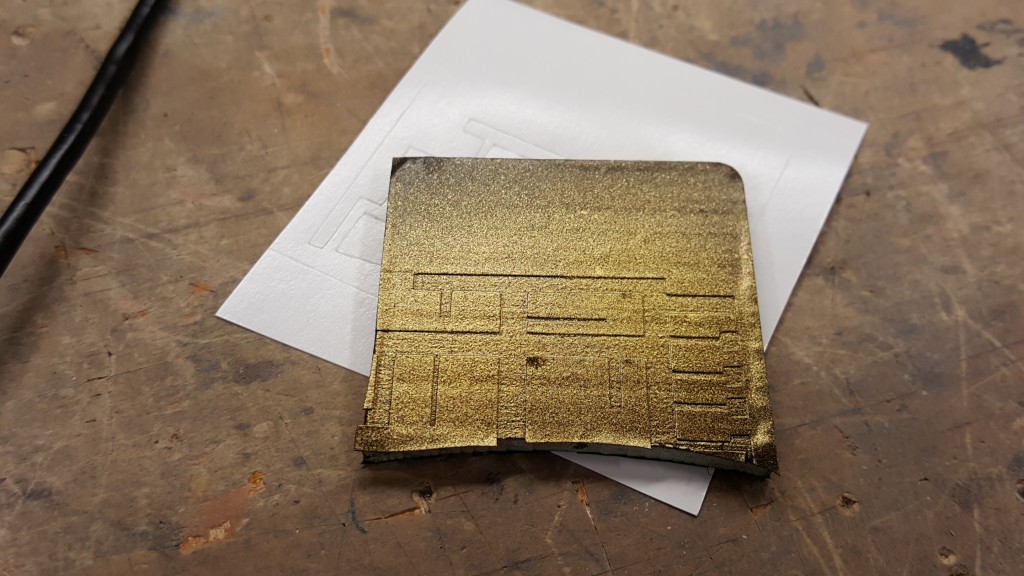
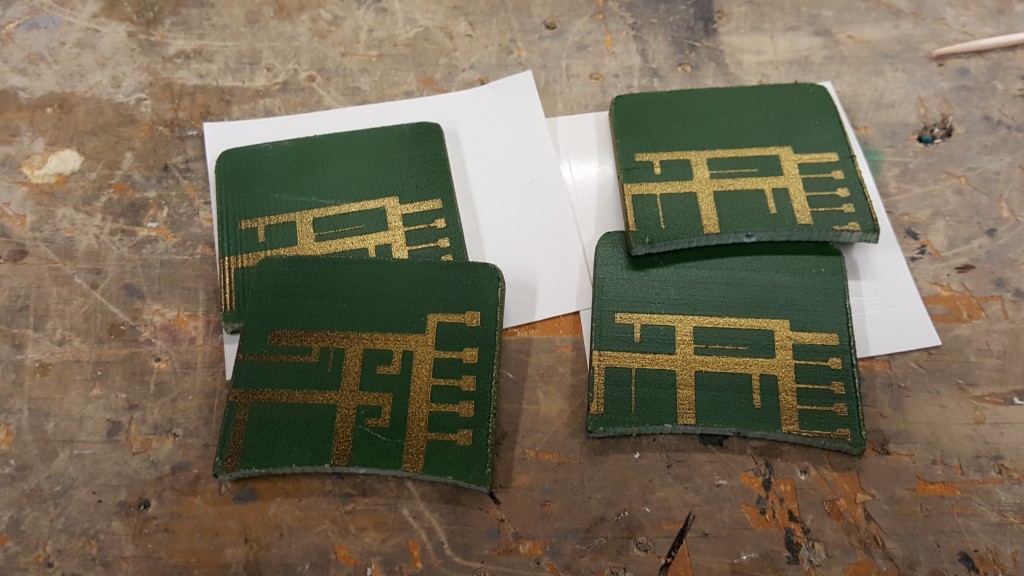
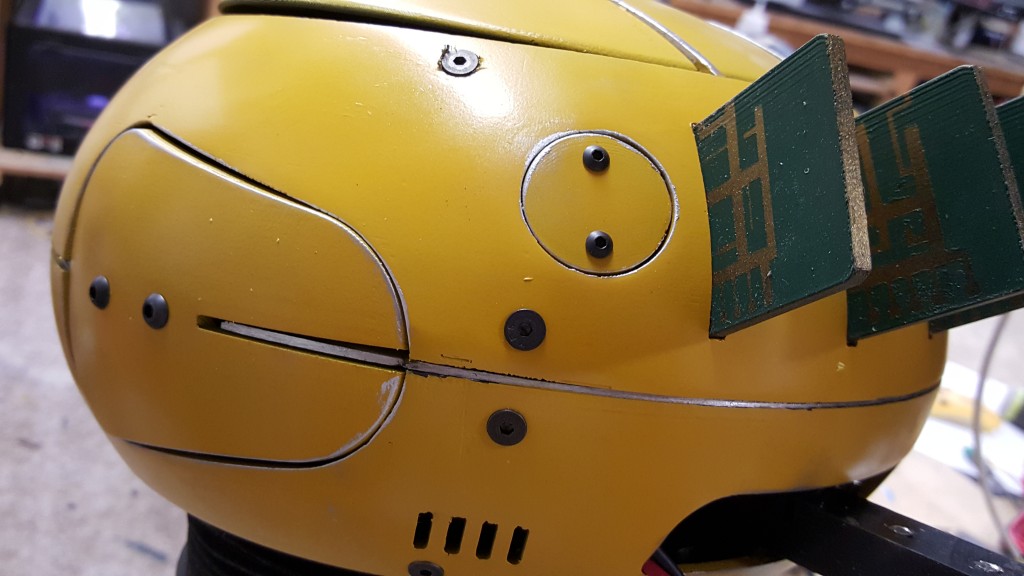
Lets get some of the other small details finished as well. You will need to print 4 of the memory cards out. We are going to paint these a dark green, then using the included .EPS files Make stencils to paint in the copper tracings. I also included in a PDF screen accurate labels for the cards. You will need to print the white label twice.


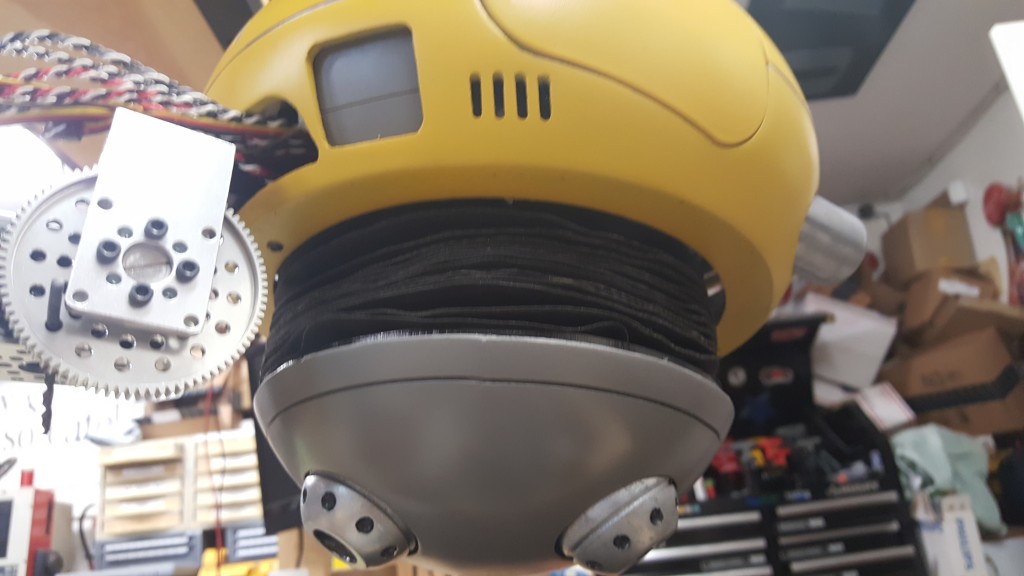
Also get the rear charger port cover, rear access cover and lid bump parts painted up to there respected colors and installed. The rear charger cover and lid bump are painted the same grey as the bottom engine and the other matches the body yellow. You will notice the added screws. These are just drilled and screwed into the plastic parts for looks. They are not actually holding anything. You can put these in later.
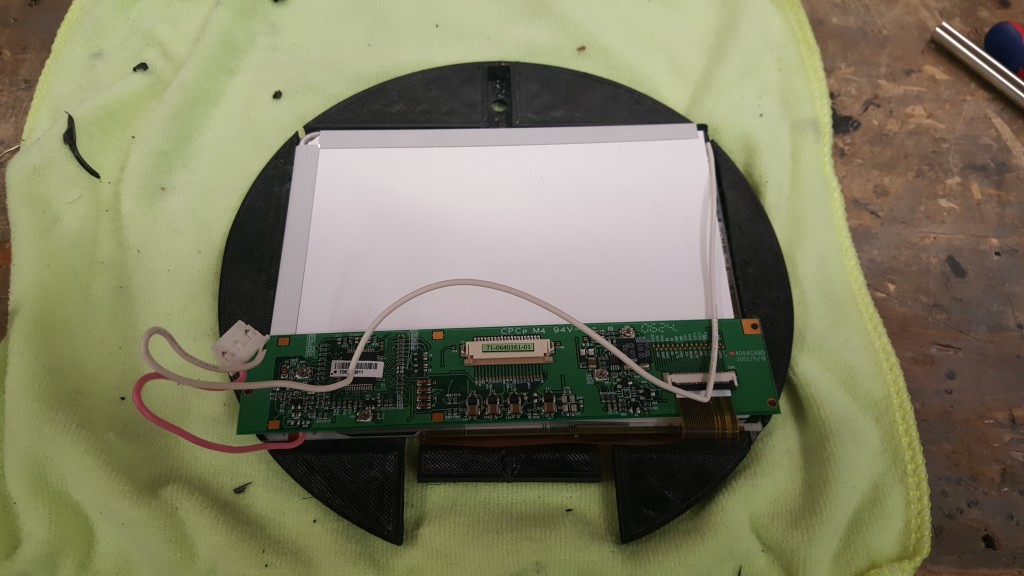
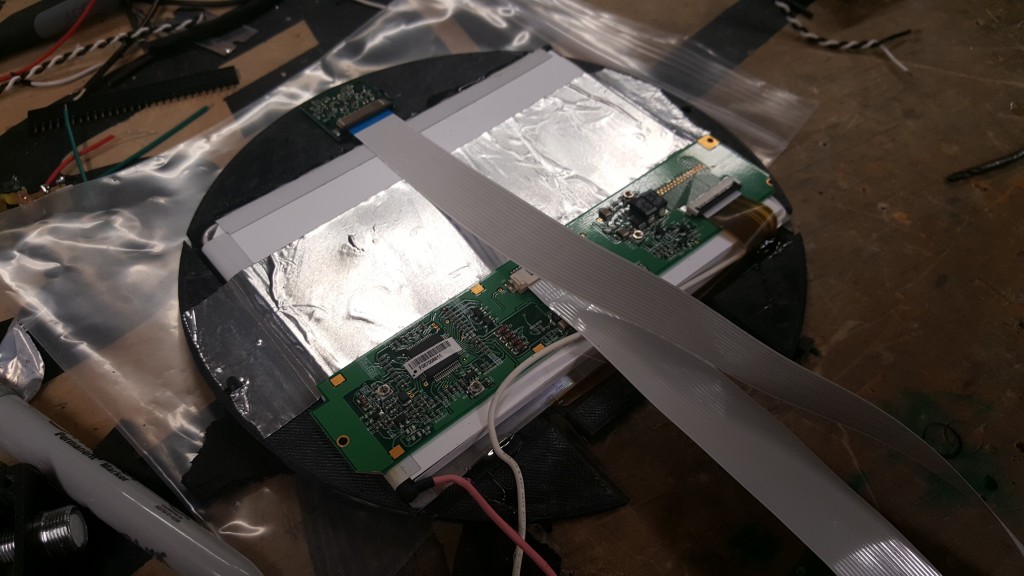
Now the Screen. This is going to be difficult. Each LCD will be different so I can not sit here and tell you exactly what to buy that works. I purchased MANY screens that did not work or I broke. They are all 6.4″ 640×480 4:3 LCDs. Most are usually some sort of old car 12v screens. The most difficult part was trying to get the LVDS cable to be extended (The cable that runs from the driver board to the LCD itself). Most of these cables are only a inch or two. I just found ribbon cable of the same pitch and pin count at the right length. It also requires you to tear down the LCD to the glass itself and the diffusion sheets to fit into Weebo (and it still needs a little work! I had to grind down the glass corners just a bit!). Now you can get away using a LCD kit from eBay , but I never found a kit with a 4:3 6.4″ LCD. They were all 16:9 and that wouldn’t fill up Weebos lid like I would’ve liked. You will also see the Raspberry PI camera added with a long ribbon cable.
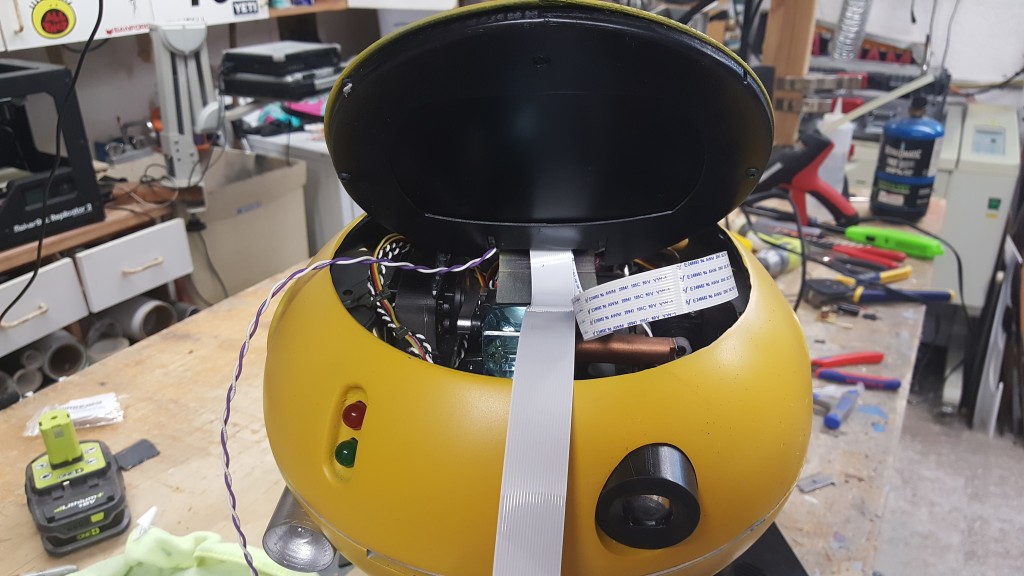
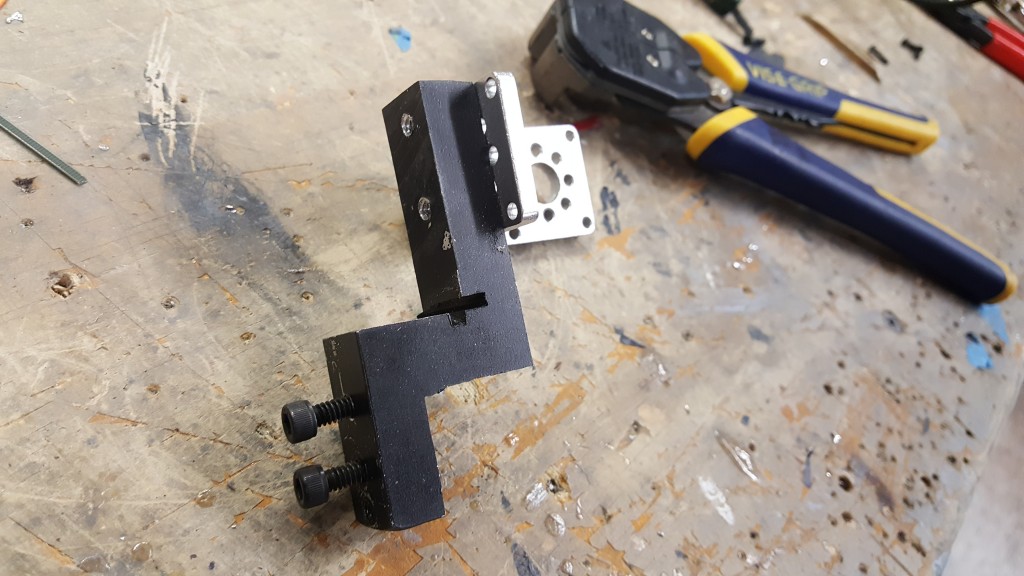
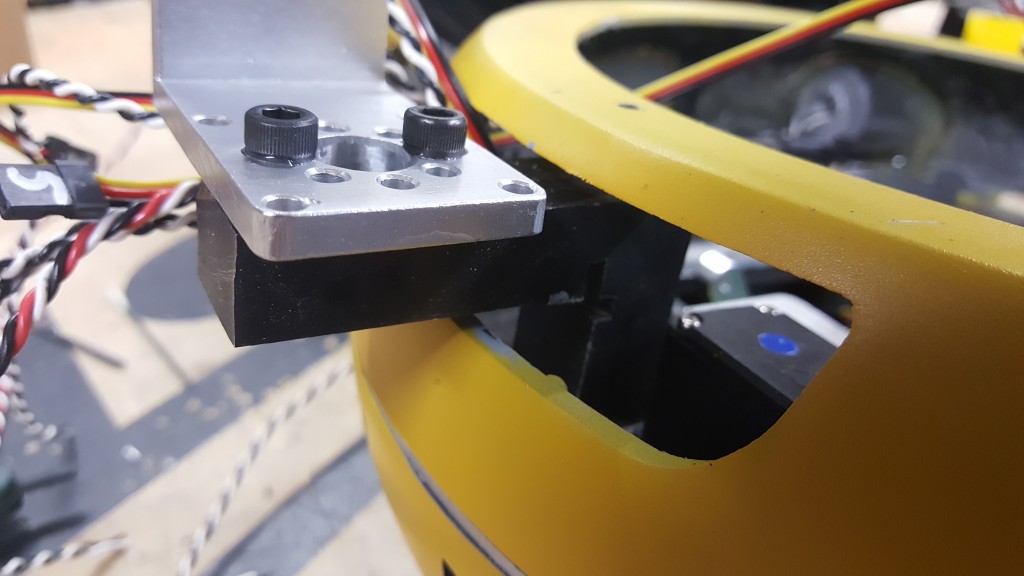
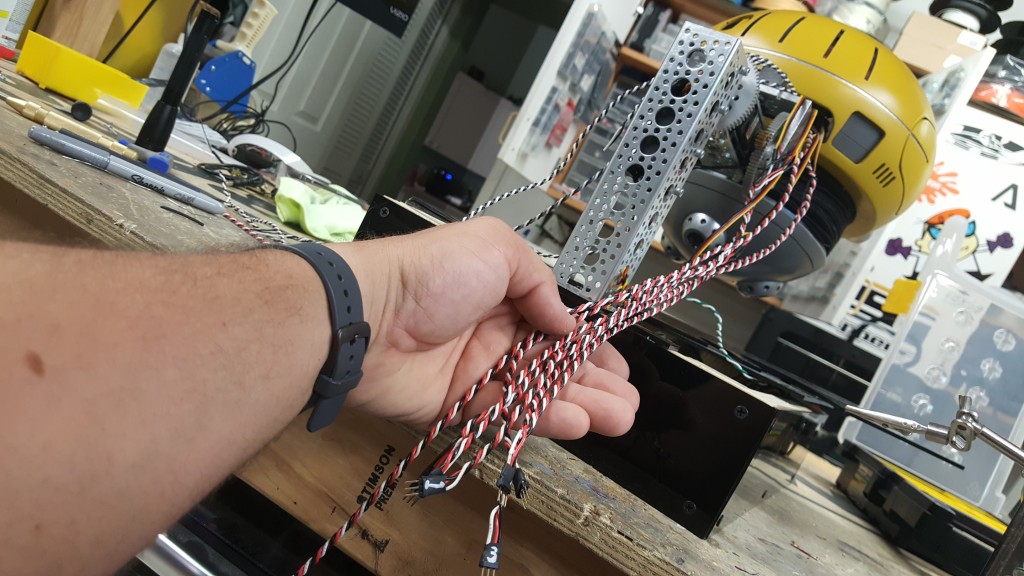
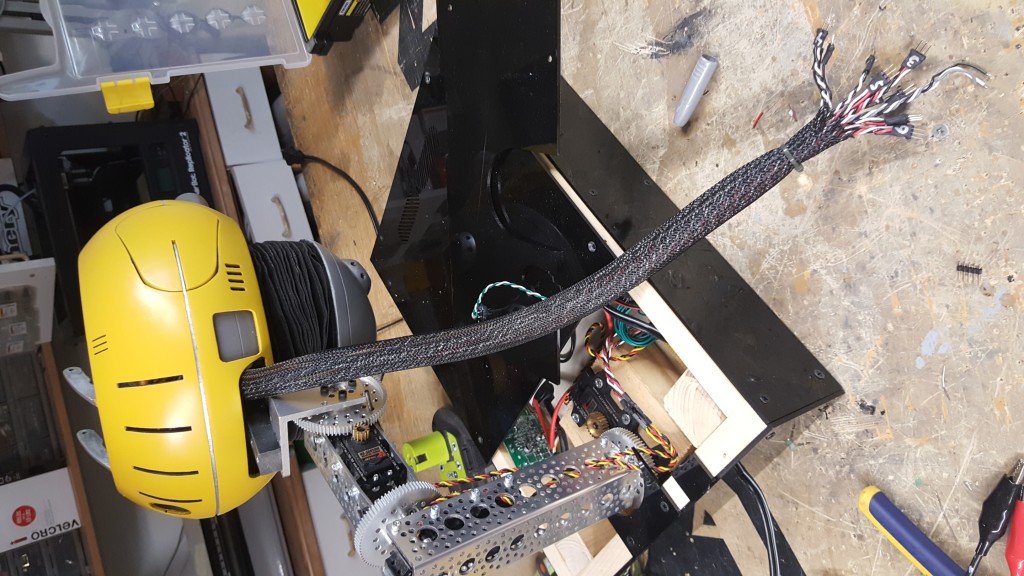
Run those cables out the back of Weebo along with all of the servo and LED cables (will probably take some extending I’m sure) I also made a Mount out of Aluminum to mount to the main mounting arm.