Well.. The Home Made Hangtime Pinball project is coming farther! Today, I finished the back glass and scoreboard system. The whole scoreboard system was made from scratch with 10mm and 5mm LEDs with Shift Registers and Transistors. Its running really nice and thought to share it all with you! It really is a treat seeing this project come to life! Here is the video!

Its really nice to have the pinball cab already in place, I will be painting over those tutles soon, even though I feel like im sinning! But what a better way to bring an old pinball to life than reincarnating it into a homemade pinball!!
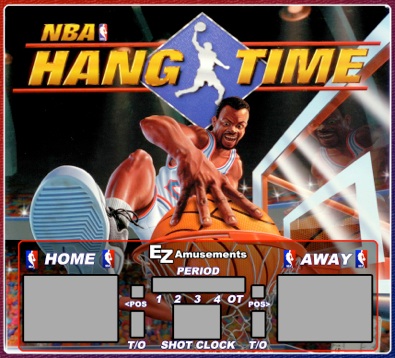
The artwork changed a bit, here is the actual print!

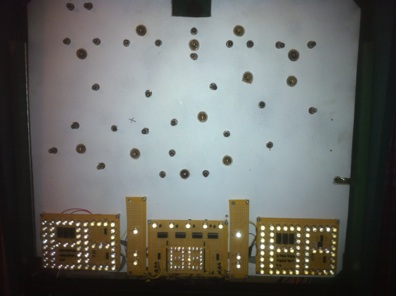
I really wanted this pinball to stand out among the rest. This is why I not only have a pinball DMD (well kinda) display, but thought an old school point counter system would be retro and cool! So my mission was to include a basketball scoreboard into the back glass artwork, and I must say it came out better than I expected. I built the whole thing out of LEDs and Shift Registers basically. As you can see in the pictures below, there are a few different “modules”. They all connect together over ribbon cable, which includes the latch, clock and data for the shift registers, plus a couple of grounds, +5v and +12v. The Arduino Mega is what is controlling all of these along with sending signals for the other arduinos that take care of the other functions, like audio and the DMD (check out my other posts for details on those).


Alot of mess, but it does all make sense. These are for the scoring system of the scoreboard. These are essentially 7-segment LED Displays made out of 10mm orange LEDs. Its hard to see, but each board has a 10-pin IN and OUT ribbon cable connection to run the shift registers, ground and power. I then needed to create the Period, Possession, Overtime and shotclock LEDs. Which is below.

Next I needed to recreate the backlight wood door. I like using actual bulbs instead of a fluorescent light or LEDs becuase it gives it a more retro, real pinball feel.


Here is also a glance at the inside. After I finish getting it all organized and finished, I will do another post, with more details.


