Rss

  • twitter
  • youtube

Archives for : January2011

Arduino Powered JEEP Wrangler

This has been a long process in the making. I started with this idea awhile ago and tried out different ways to program microcontrollers. I first started with one of the “NerdKits”. Now this was a good kit, but when you were done with there tutorials, there wasn’t much more to do. I then went with the Arduino and I wish I would’ve started there! It is excellent for the beginner and pro. So this is my first arduino project and my first time really programming anything except HTML. So check out the video, then read on.

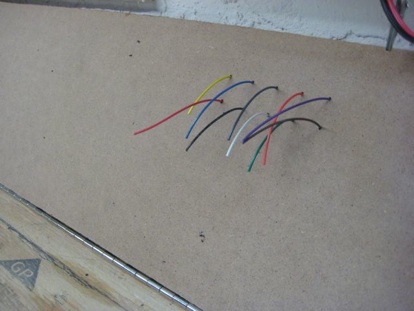
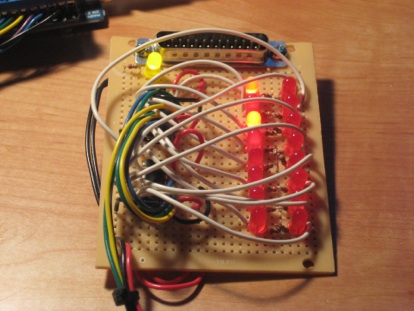
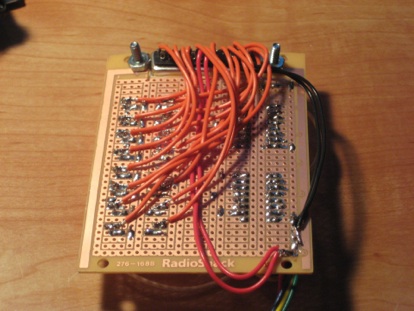
Before I used an arduino to control everything, I used actually switches as you can see in this picture

But this was definitely not good enough as I wanted to add more things and its just to easy. So the challenge was to make the JEEPuter. I first started out making it on a breadboard (i dont have pics of this) But after I had the basic idea in my head with a somewhat working prototype, I started building the housing for it. I used sheet metal and plexi for the faceplate. Along with using some label paper to make the art work (if you could call it that)

I used some basic Radio Shack momentary buttons and a 20×4 LCD display. It looks really good behind the plexiglass front of the faceplate. All of the connections hook up threw molex connectors to make it easy to work on. The random cuts in the plate are to make it fit in the tuffy overhead mount easier. It doesnt looks as ugly when installed as you can see here.

I used a Arduino Uno and left the whole board in there instead of making a standalone board so I could program it easier. The arduino is outputting all of the “outs” to 3 shift registers. One register is inside of the JEEPuter box, the other two are on there own board that is installed inside the relay box. Here in this picture you can see the Arduino with a screw shield above it with 3 relays. Two control the garage door opener and RF Garage Lights. The other is actually turnign power on to the shift registers. Reason for this is when the arduino boots up, the registers all go high. This is an issue when you have a starter hooked up to them.

Then the other two registers are on this board. This board I made specifically as the control board for the relays. It has two 595 Shift Registers along with 16 LEDs. Each LED represents an output coming from the registers. THis made it easy to program without hooking up all the relays and helps to troubleshoot. This board has  a 25 pin connection on it that outputs to each and every relay.
And then I had a breakout cable go from the 25 pin output to all of the relays. I only used 20 pins, 16 outputs, 2 grounds, 2 5v+. These go to each relay on theses relay boards I purchased on ebay. I could have made my own, but this was easier and better to have printed PCB for this.

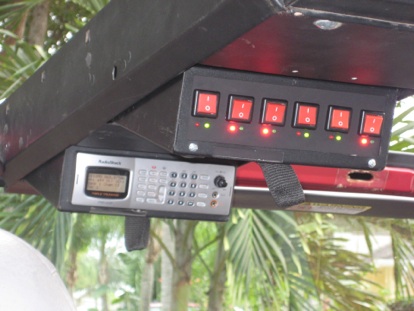
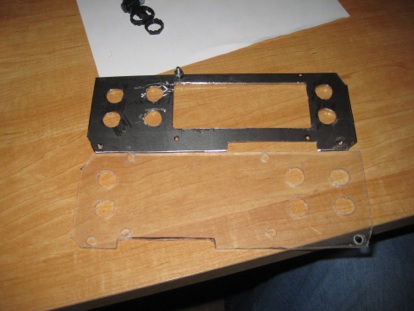
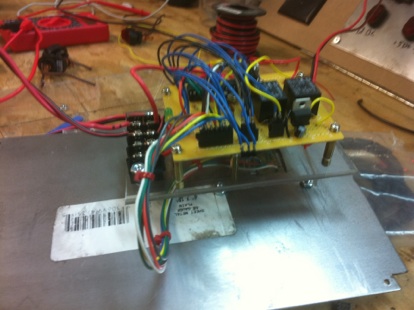
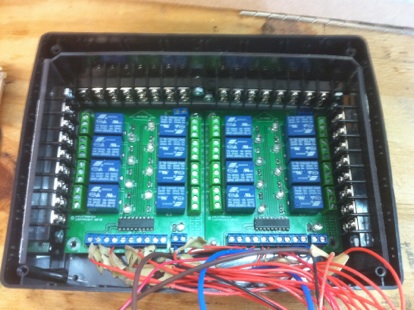
The relays were then put inside a project box from radioshack. This helped insulate them from shorting out on the jeep and kept it all in one place. I used plexi and screw terminals to make hooking up easier. This was a bit difficult to get it all to fit as you can see in these next shots.

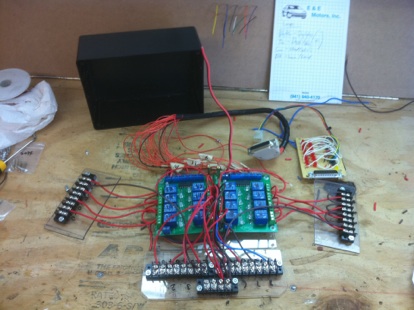
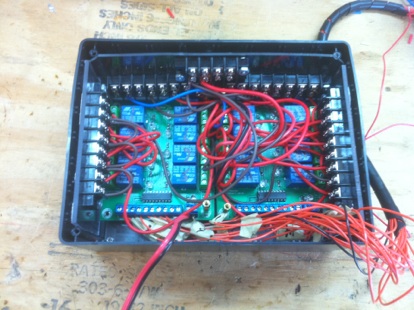
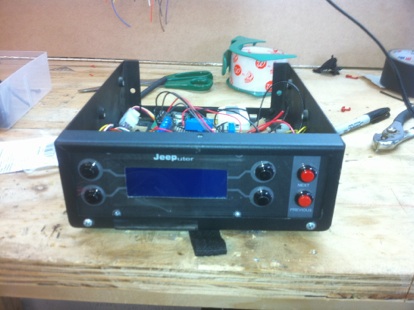
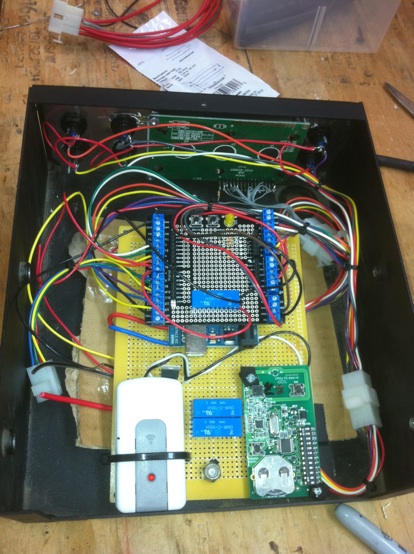
I then installed the shift registers board inside and added a fan to keep it cool.

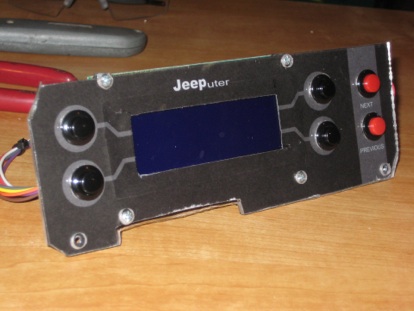
There are also a couple of sensors hooked up that you can see in action in the top video. There is a Light sensor, Temp sensor and a RTC. (I may add a carbon monoxide sensor). the Light sensor value is brought into the arduino and divided by 20, then that number is used to turn off and on lights depending if its dark outside. (this is also selectable per light). You can change the sensitivity in the diagnostics mode. It allows you to tell when to turn lights on and light off. This gives you a dead zone so the lights don’t flicker when you get close to dark but still light out. These numbers will be saved in the EEPROM of the arduino. The Temp sensor just outputs F and C on the display. The RTC provides the time and date and you can change if its either Daylight savings time or not in the diagnostics. This helps so you don’t have to set the clock twice a year.

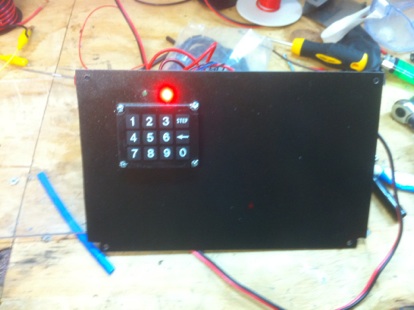
I also added another arduino (standalone)  that had a keypad attached to it with a couple relays that control turning on the power to the jeep and ignition if you type the code in it. So this gives you the ability to not need a key to use your jeep, only a code.

When you type in the code, it turns the Jeep on as if you turned your key to the “On” position. This then turns on all the accessories as well. There Starting of the engine is done threw the arduino JEEPuter uptop. The original key still works perfectly fine. To turn the Jeep off, you just hit the <– button on the keypad, and it shuts down. Check out the pictures to see the arduino setup for the keypad.

Download Source Code  <—- Its not pretty, its my first!

My Shop/Workplace

So I love garages and work benches and tools.. hell, what guys don’t? I always enjoyed watching videos or looking at pictures of other peoples work places, so I thought I would share mine! I have plenty of tools that are necessary, and some that are not (can have fun tools too!) Everything isnt shown, but alot is. Some of the basics are your wrenches and such, but having a Dremel, Soldering Irons, wire spools, power tools, power supply, drill press, band saw, a stool (most important!), misc screwdrivers, ext.. and a automatic wire stripper is EXCELLENT!

This one is great for stripping wires quick. It auto adjusts, and strips, and gets read for the next wire all the the squeeze of your hand! Anything from 26 Gauge to 8 Gauge! Its GREAT!

Now another thing I love and do NOT regret purchasing is ALOT of wire on spools of different colors! I always thought when working on arcades and pinballs, how great having the color coded wire system! I even love to reuse old wire harnesses because of this very reason! So I went out looking to get a bunch of same sized wire in different colors and make a easy way to dispense them! Well this is what I came up with!

There is approx 5,000 ft total wire, 500 ft of each color! I picked up all 10 spools for around 130 dollars total. NOT BAD! All the wiring I have been doing lately has been so easy and nice! Plus having the wire fed up to my bench makes it nice to not see the spools and you cna practically take as much as you need without working. Im sure Ill go threw red and black the fastest, but thats ok! Much better than stripping wires from old arcades (even though I still do!).

Here is a quick video of my place!

Call Of Duty : Lan Party


Ok, so its not as crazy as this picture, but I still think its a bit overkill for just a couple hours….. but doesn’t mean I wouldn’t do it again! Was great and was non stop for hours. I don’t play videos games to much, but sit me down in front of a 52” LCD with 10 other people playing COD, and you got me hooked! Check out the video!